
In the Boomi Atomsphere platform, there are some preliminary steps you must take to ease the creation of your first process. These involve creating and managing folders that store all your reusable components in a specific, organised manner. This facilitates user navigation to component locations so that they can implement the right ones during process development. In this article, we will take a brief look at some steps and best practices to establish a common Boomi folder structure for different aspects of your integration project.
How to create folders in Boomi?
In Boomi, we create separate folders so that different teams and integration projects within an organisation are neatly classified. We also organise components and distinguish Boomi processes using different folders.
Approaches to arranging your Boomi folder structure
To establish a simple Boomi folder structure, you will need to follow these basic approaches for arranging them:
- Folders are arranged in alphabetical order in Boomi. Placing a # symbol in front of the folder name brings it to the top of the structure.
- If you want a folder at the bottom of the structure, place a Z_ symbol in front of the folder name.
- Boomi also recommends the creation of a folder #Connections which can store all connections used by your processes in one place. This folder will be under your organisation’s root folder. In the example below, the root folder is ‘Training-Folder’ as an example.
- A common folder structure (as seen in the component explorer to the left of the screen) looks something like this:
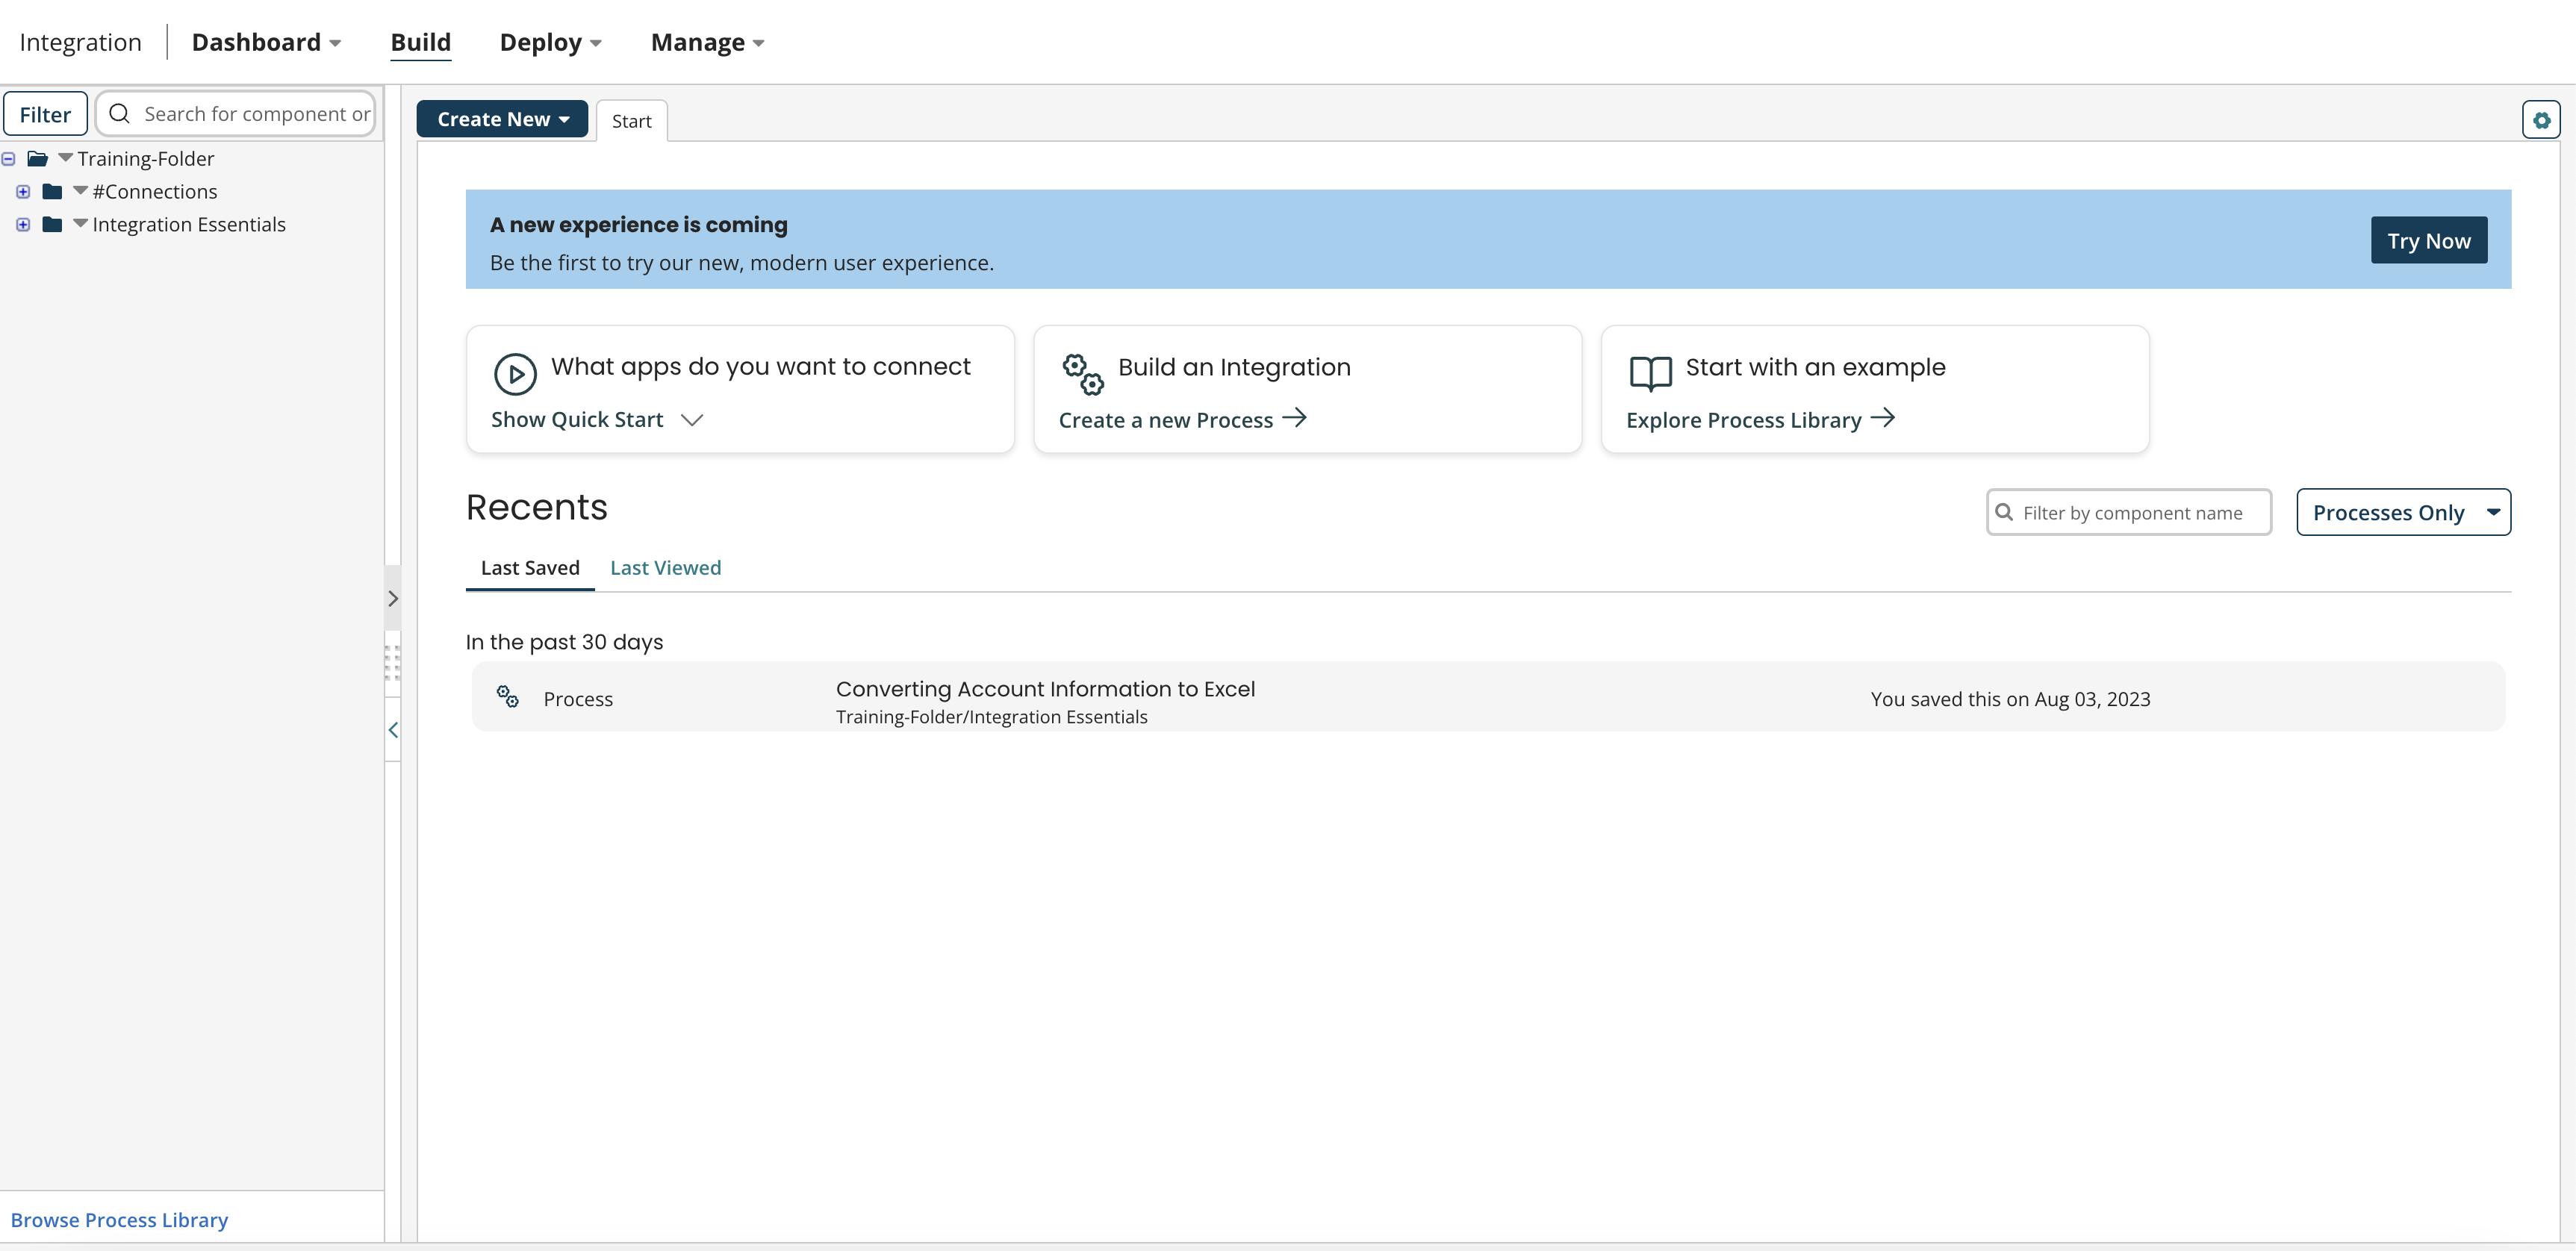
Image 1: Basic Boomi folder structure
Boomi folder structure: steps for folder creation and other options
Let’s take a look at how we can work with folders in Boomi:
- Click on the downward-facing arrow next to your root folder or any other folder underneath it. Then, click on ‘New Folder’. A pop-up will appear allowing you to include the folder name. Click save. To view the newly created folder, click on the plus icon beside your superfolder for an expanded view. As you can see in the last screenshot, the new folder ‘Folder 1’ has been created under the #Connections folder.
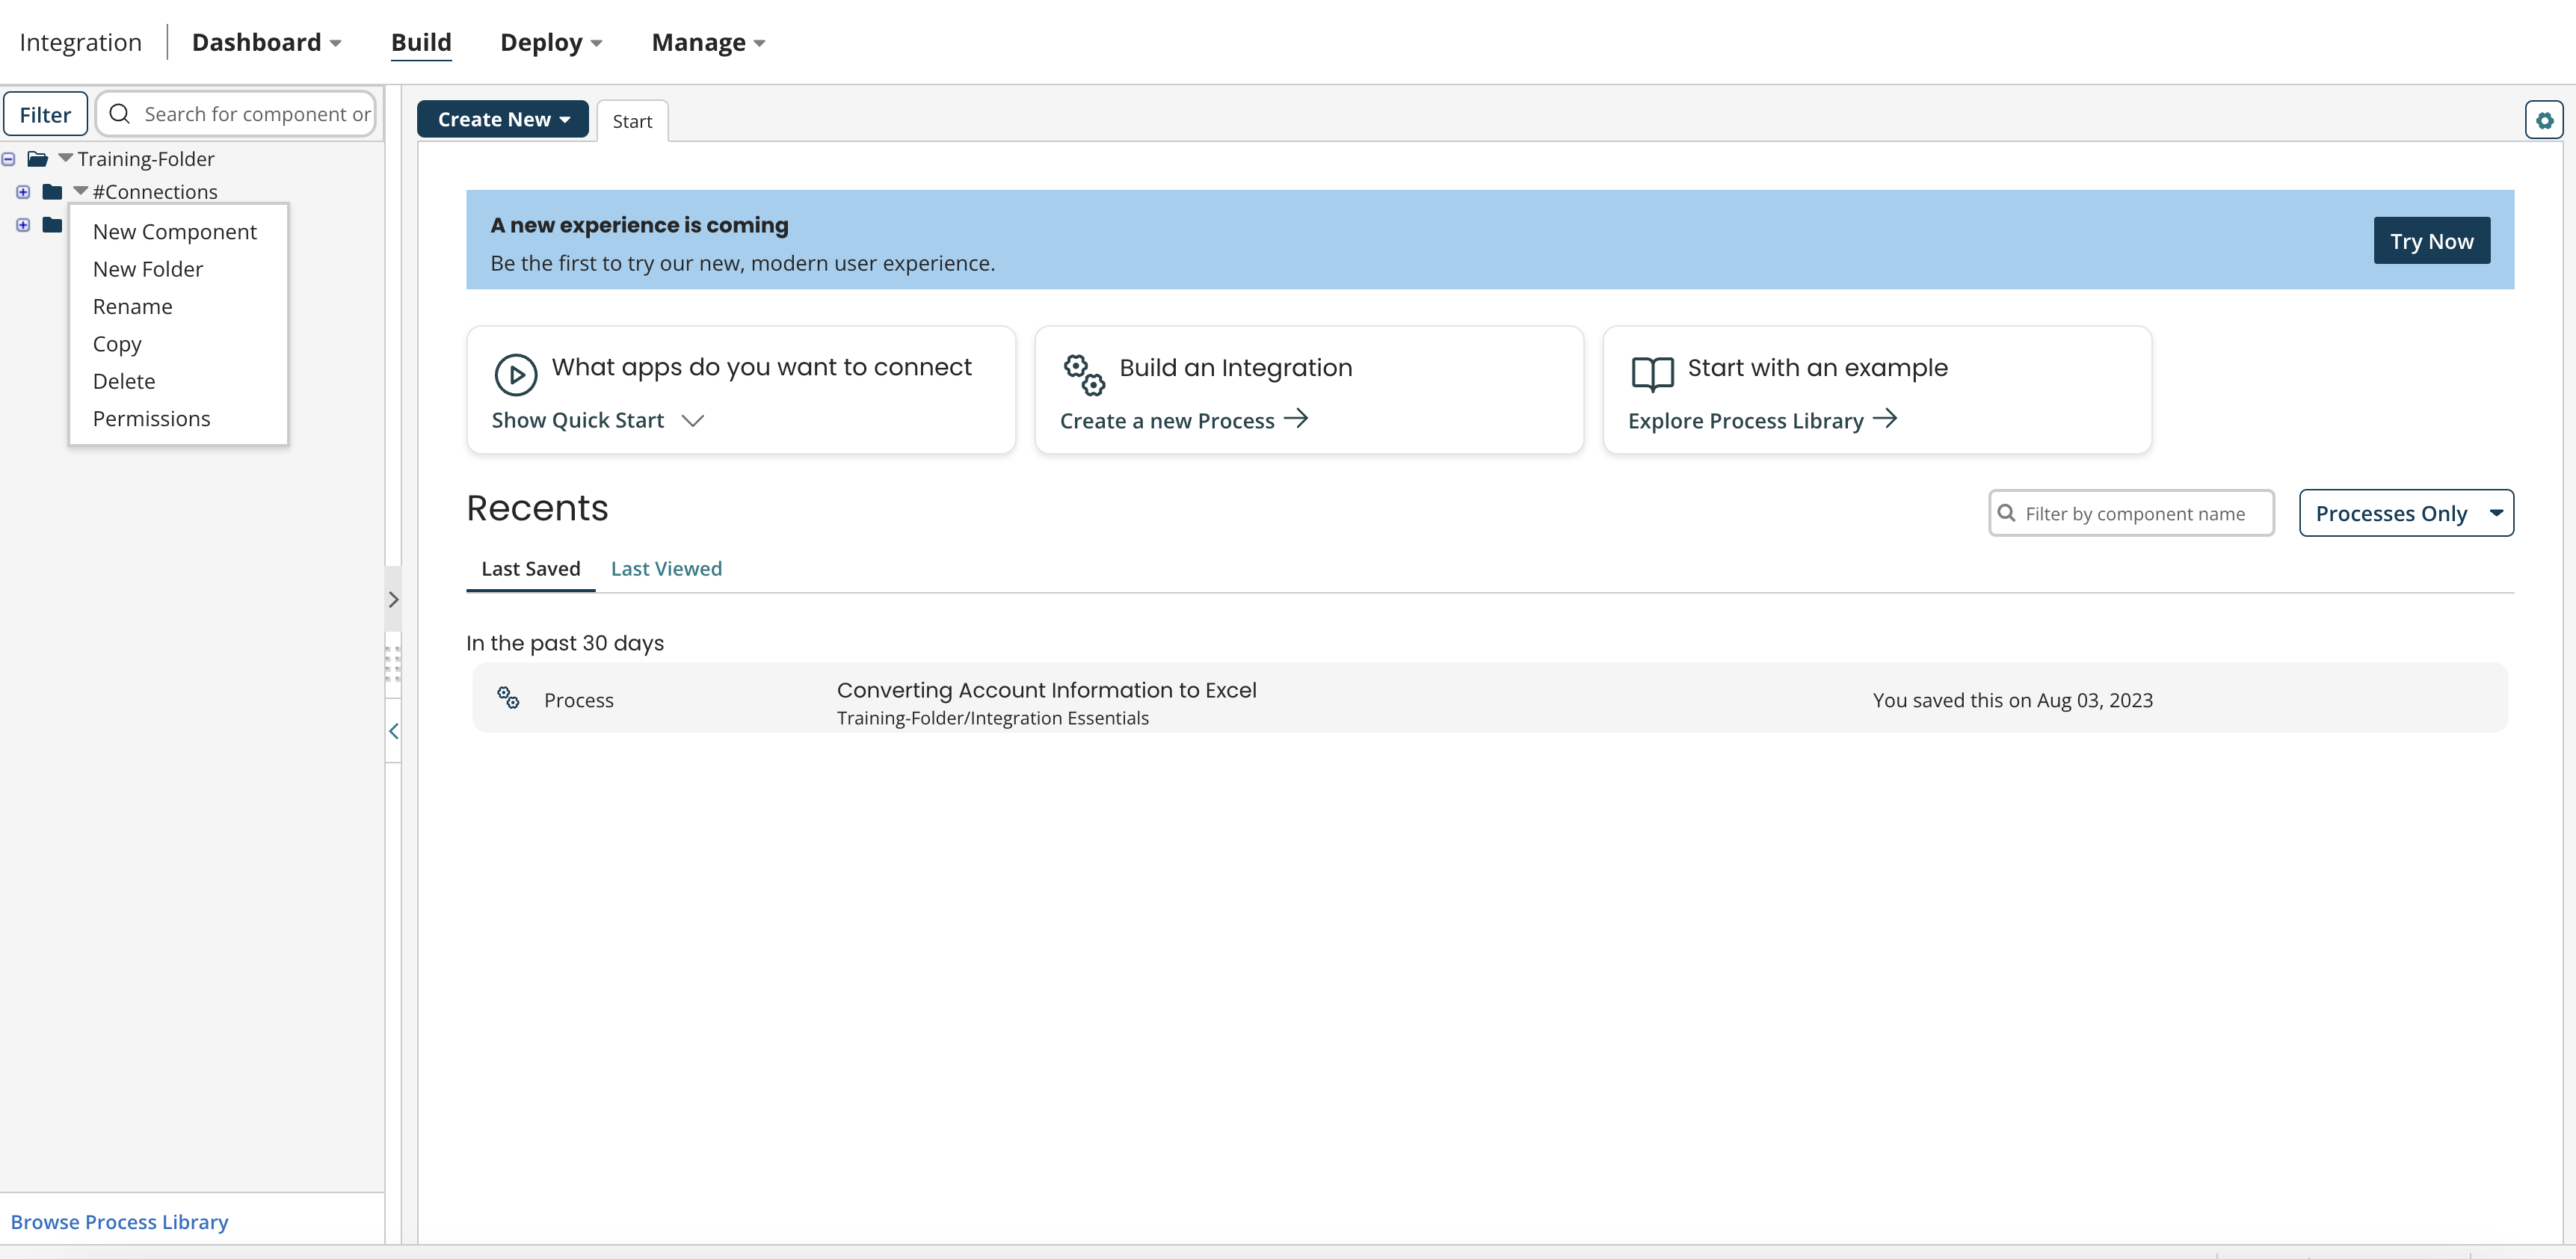
Image 2: Options dropdown
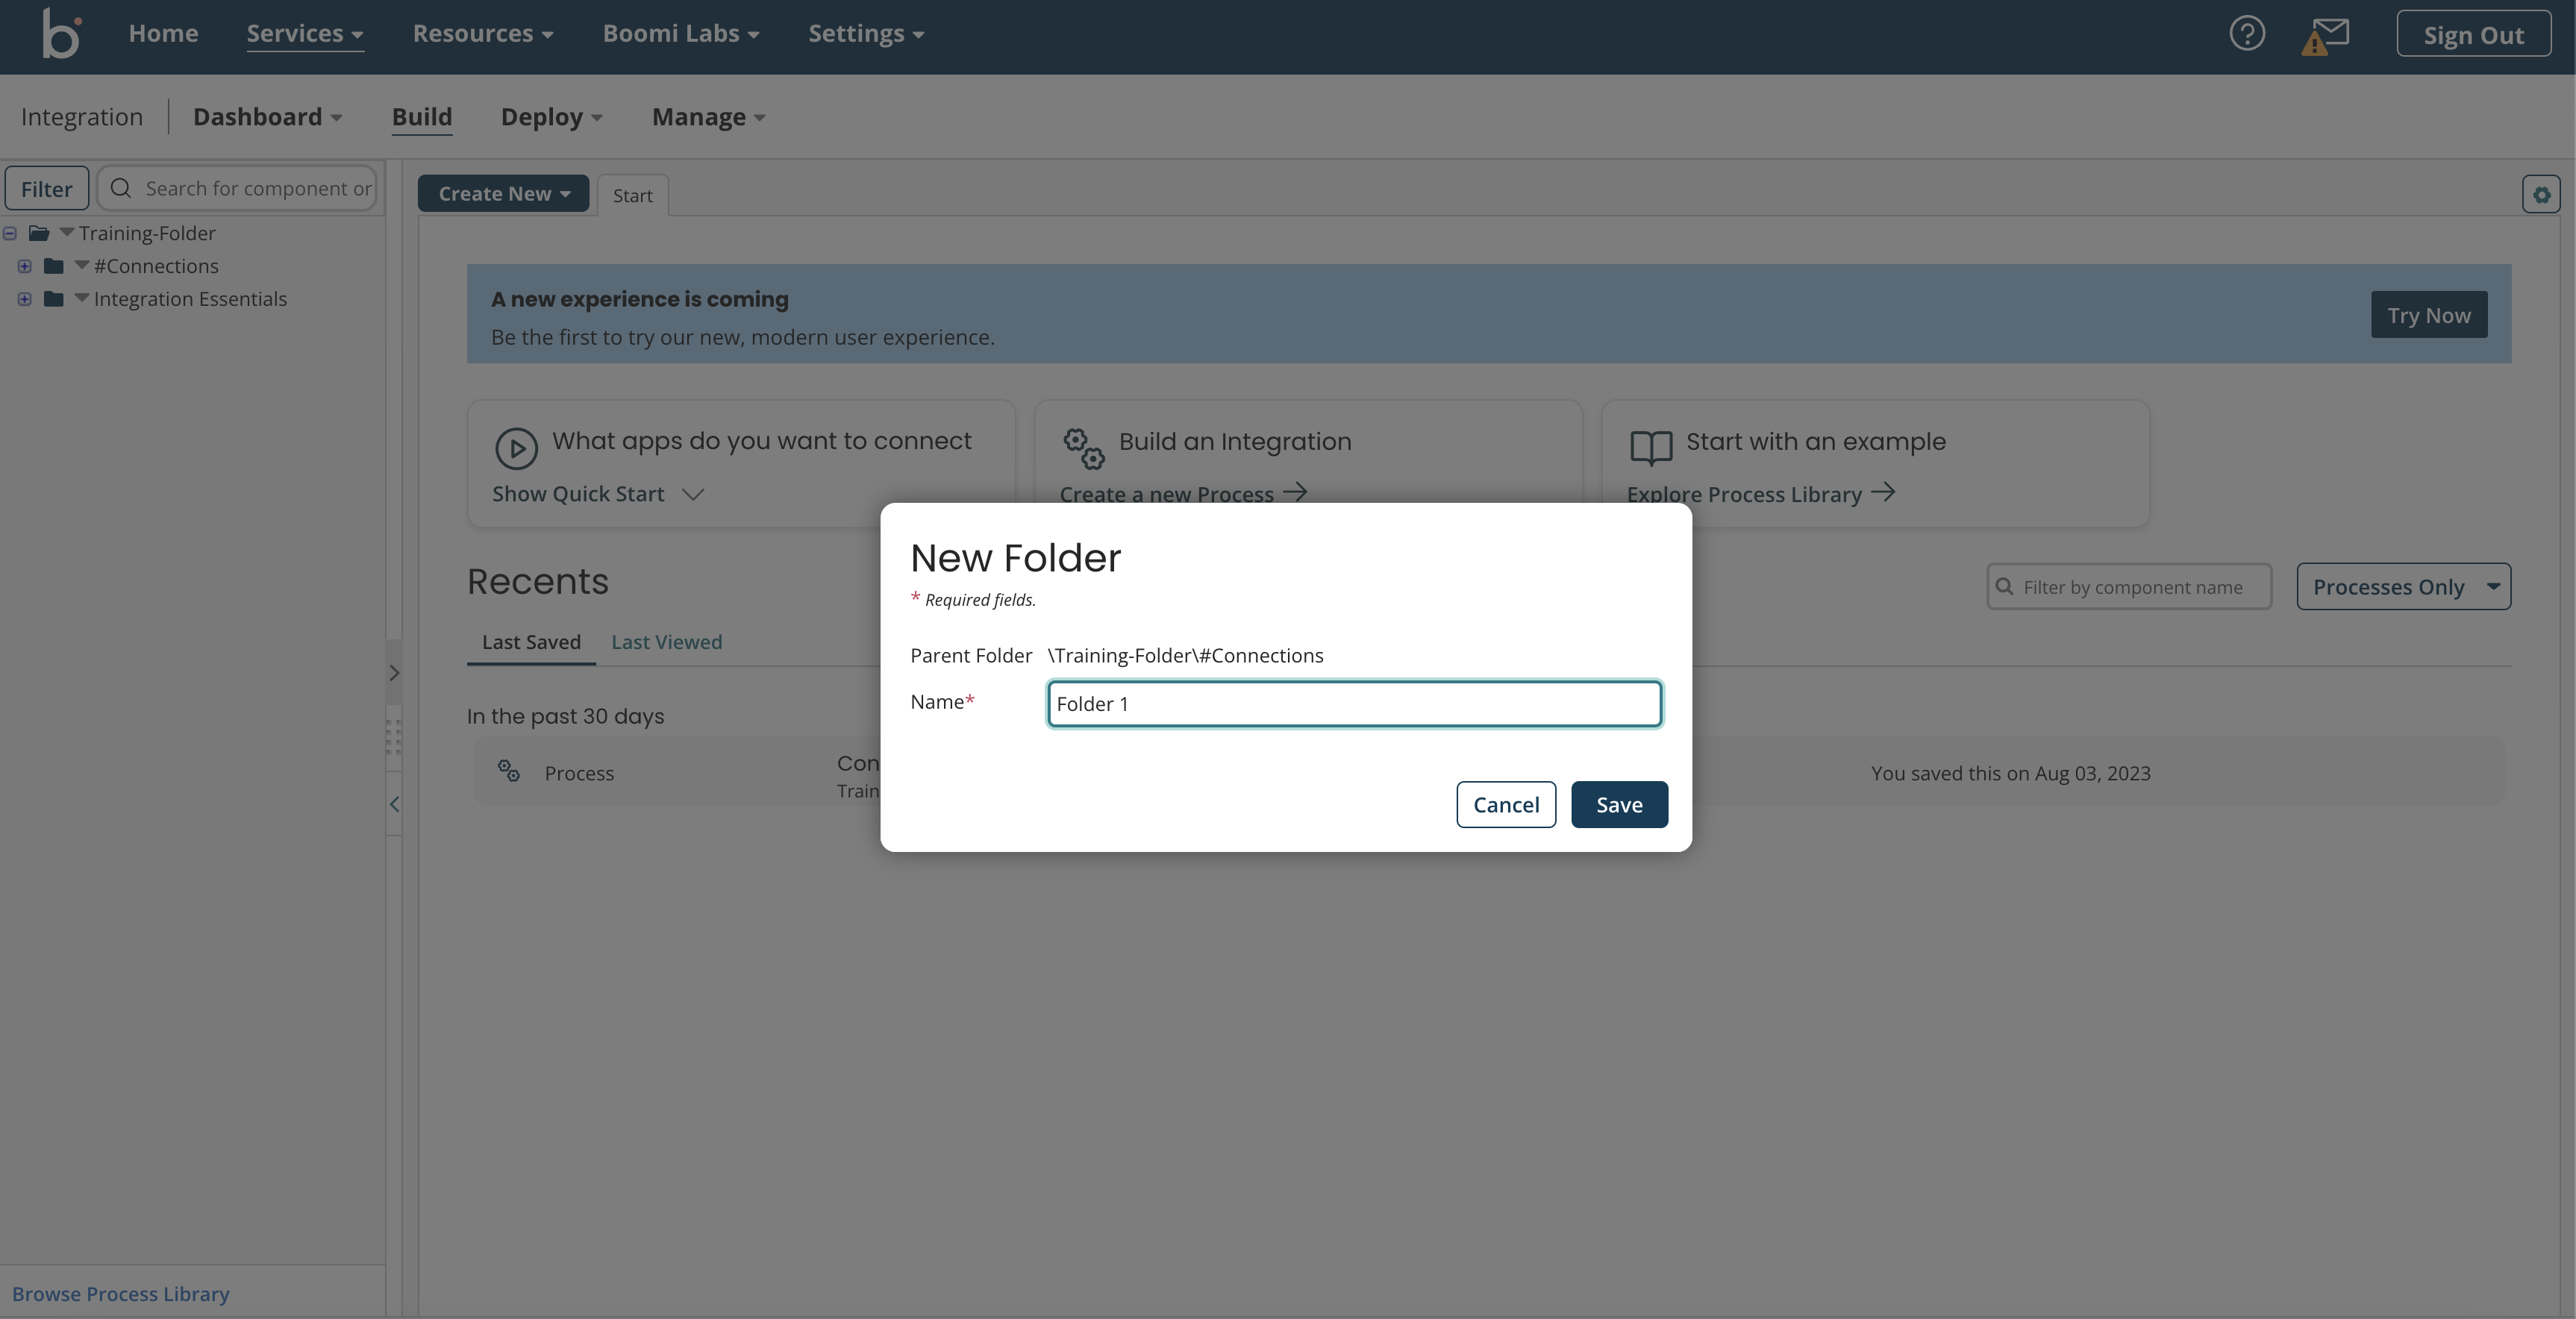
Image 3: New Folder confirmation and enter name
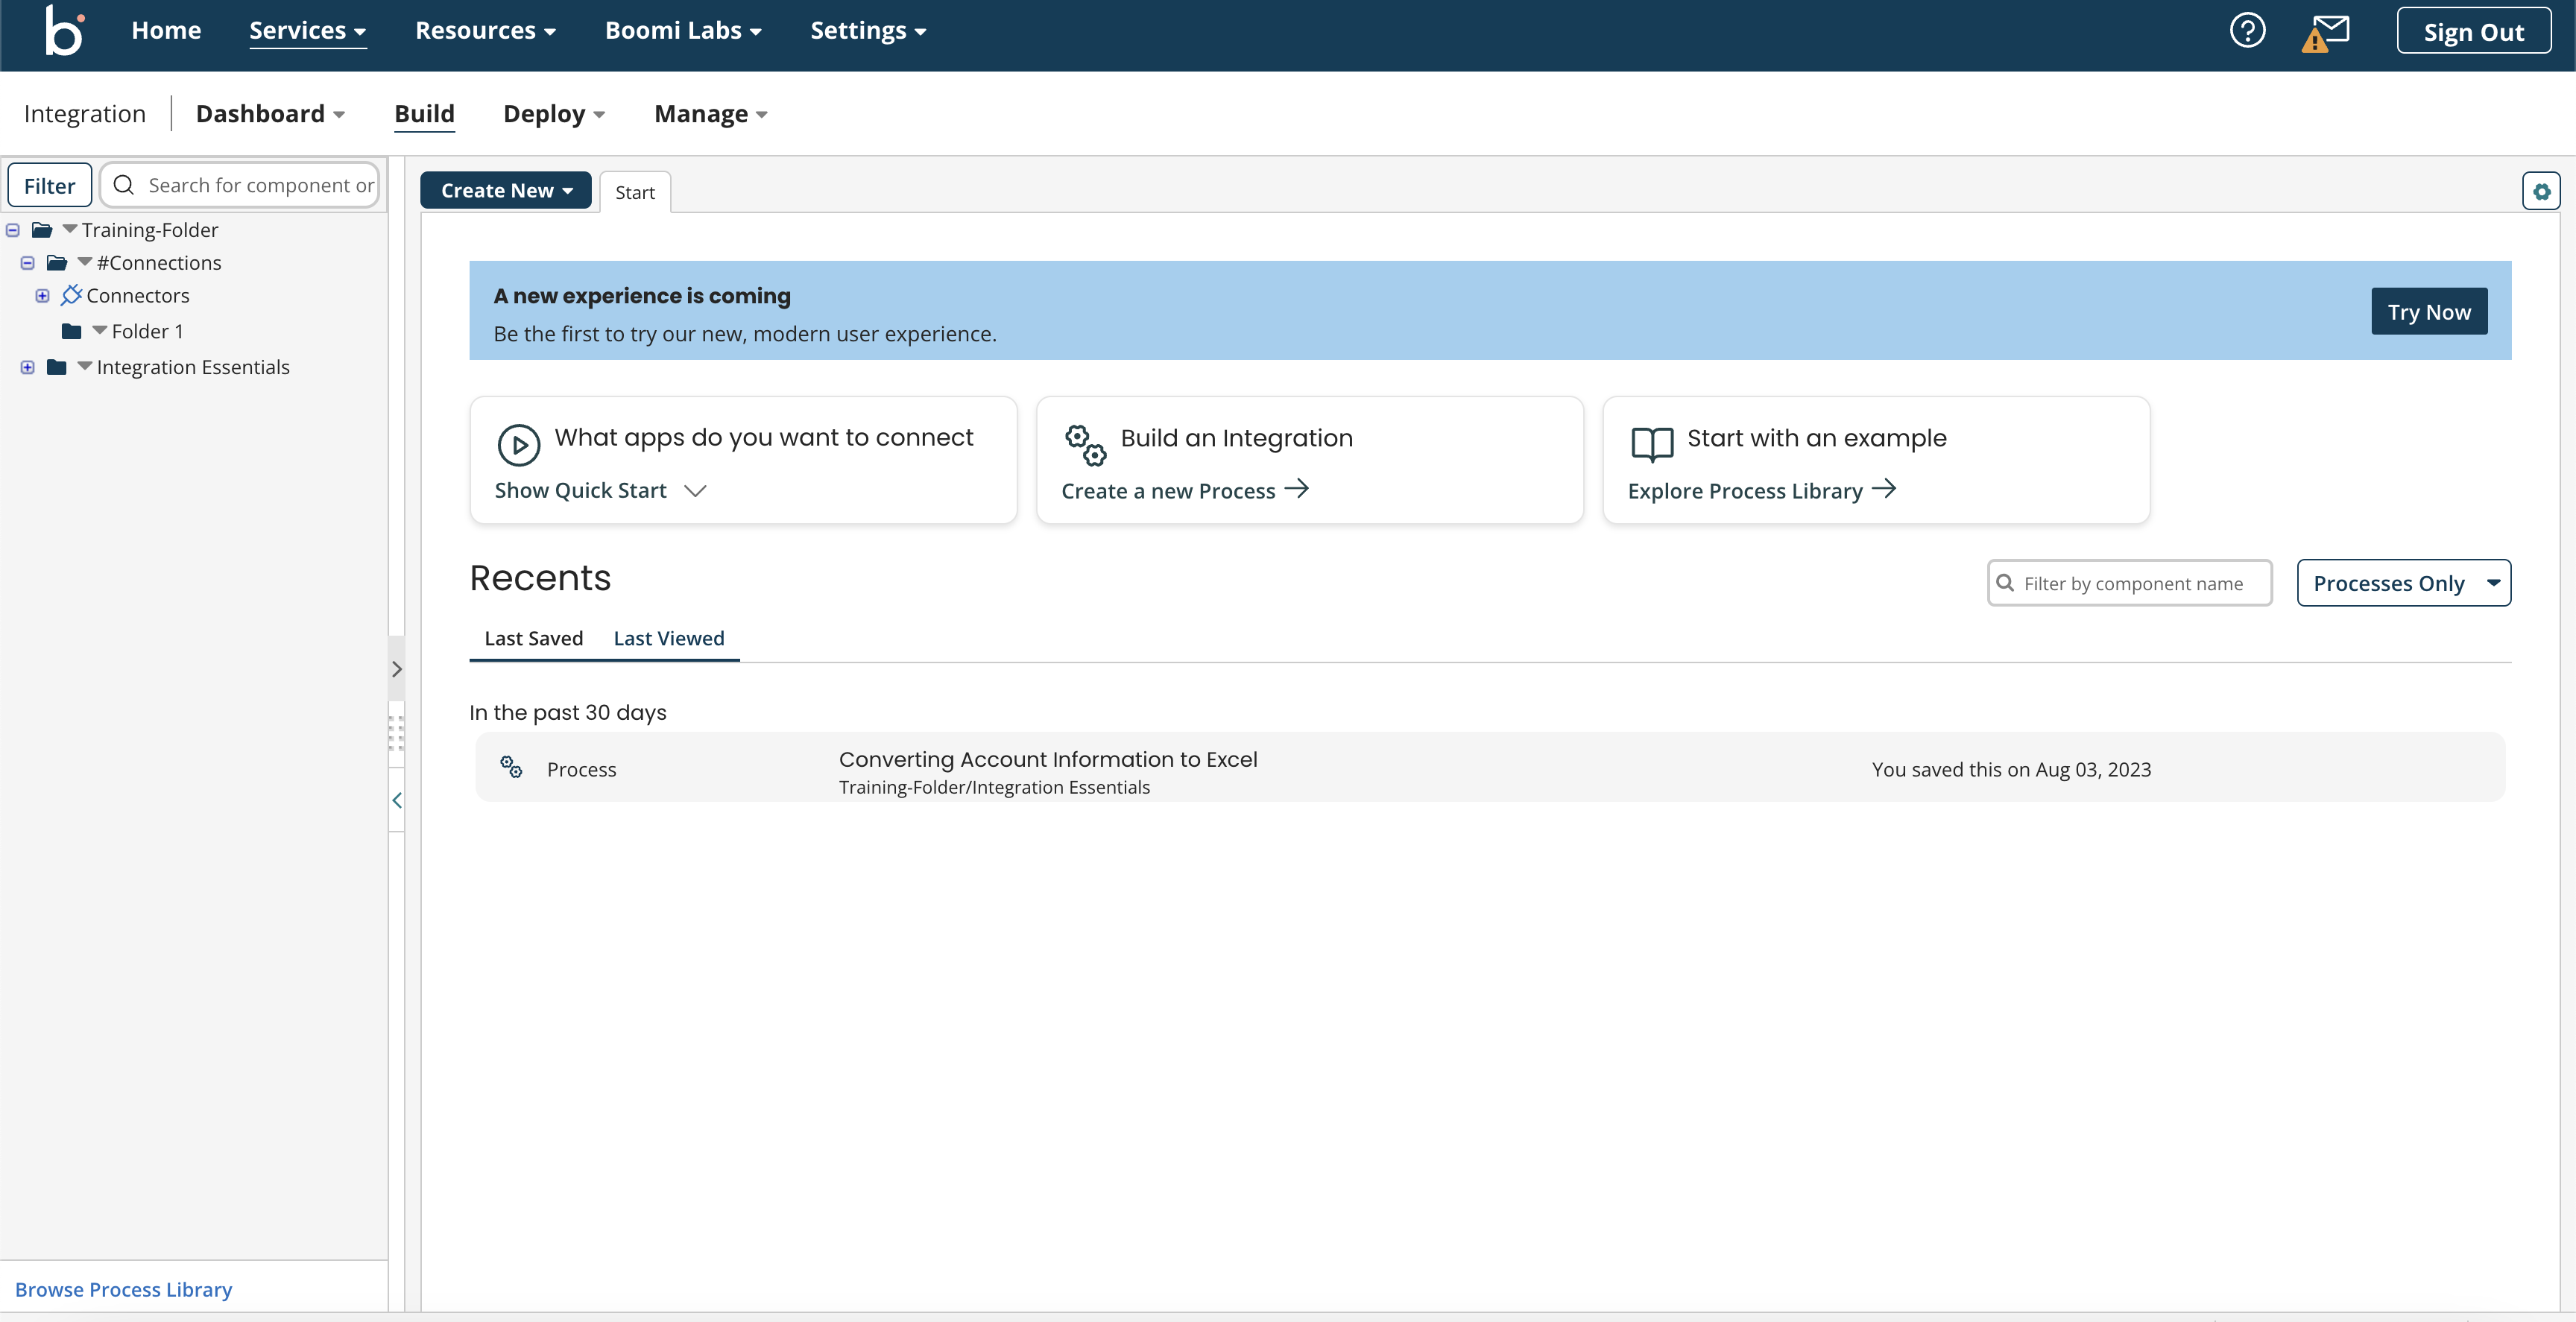
Image 4: Saved folder
- To rename a folder, click on the option ‘Rename’ under the dropdown menu of the folder you’ve created recently. A pop-up appears displaying the old name and a textbox to enter the new name. Click save. The folder is now labelled with your preferred name.
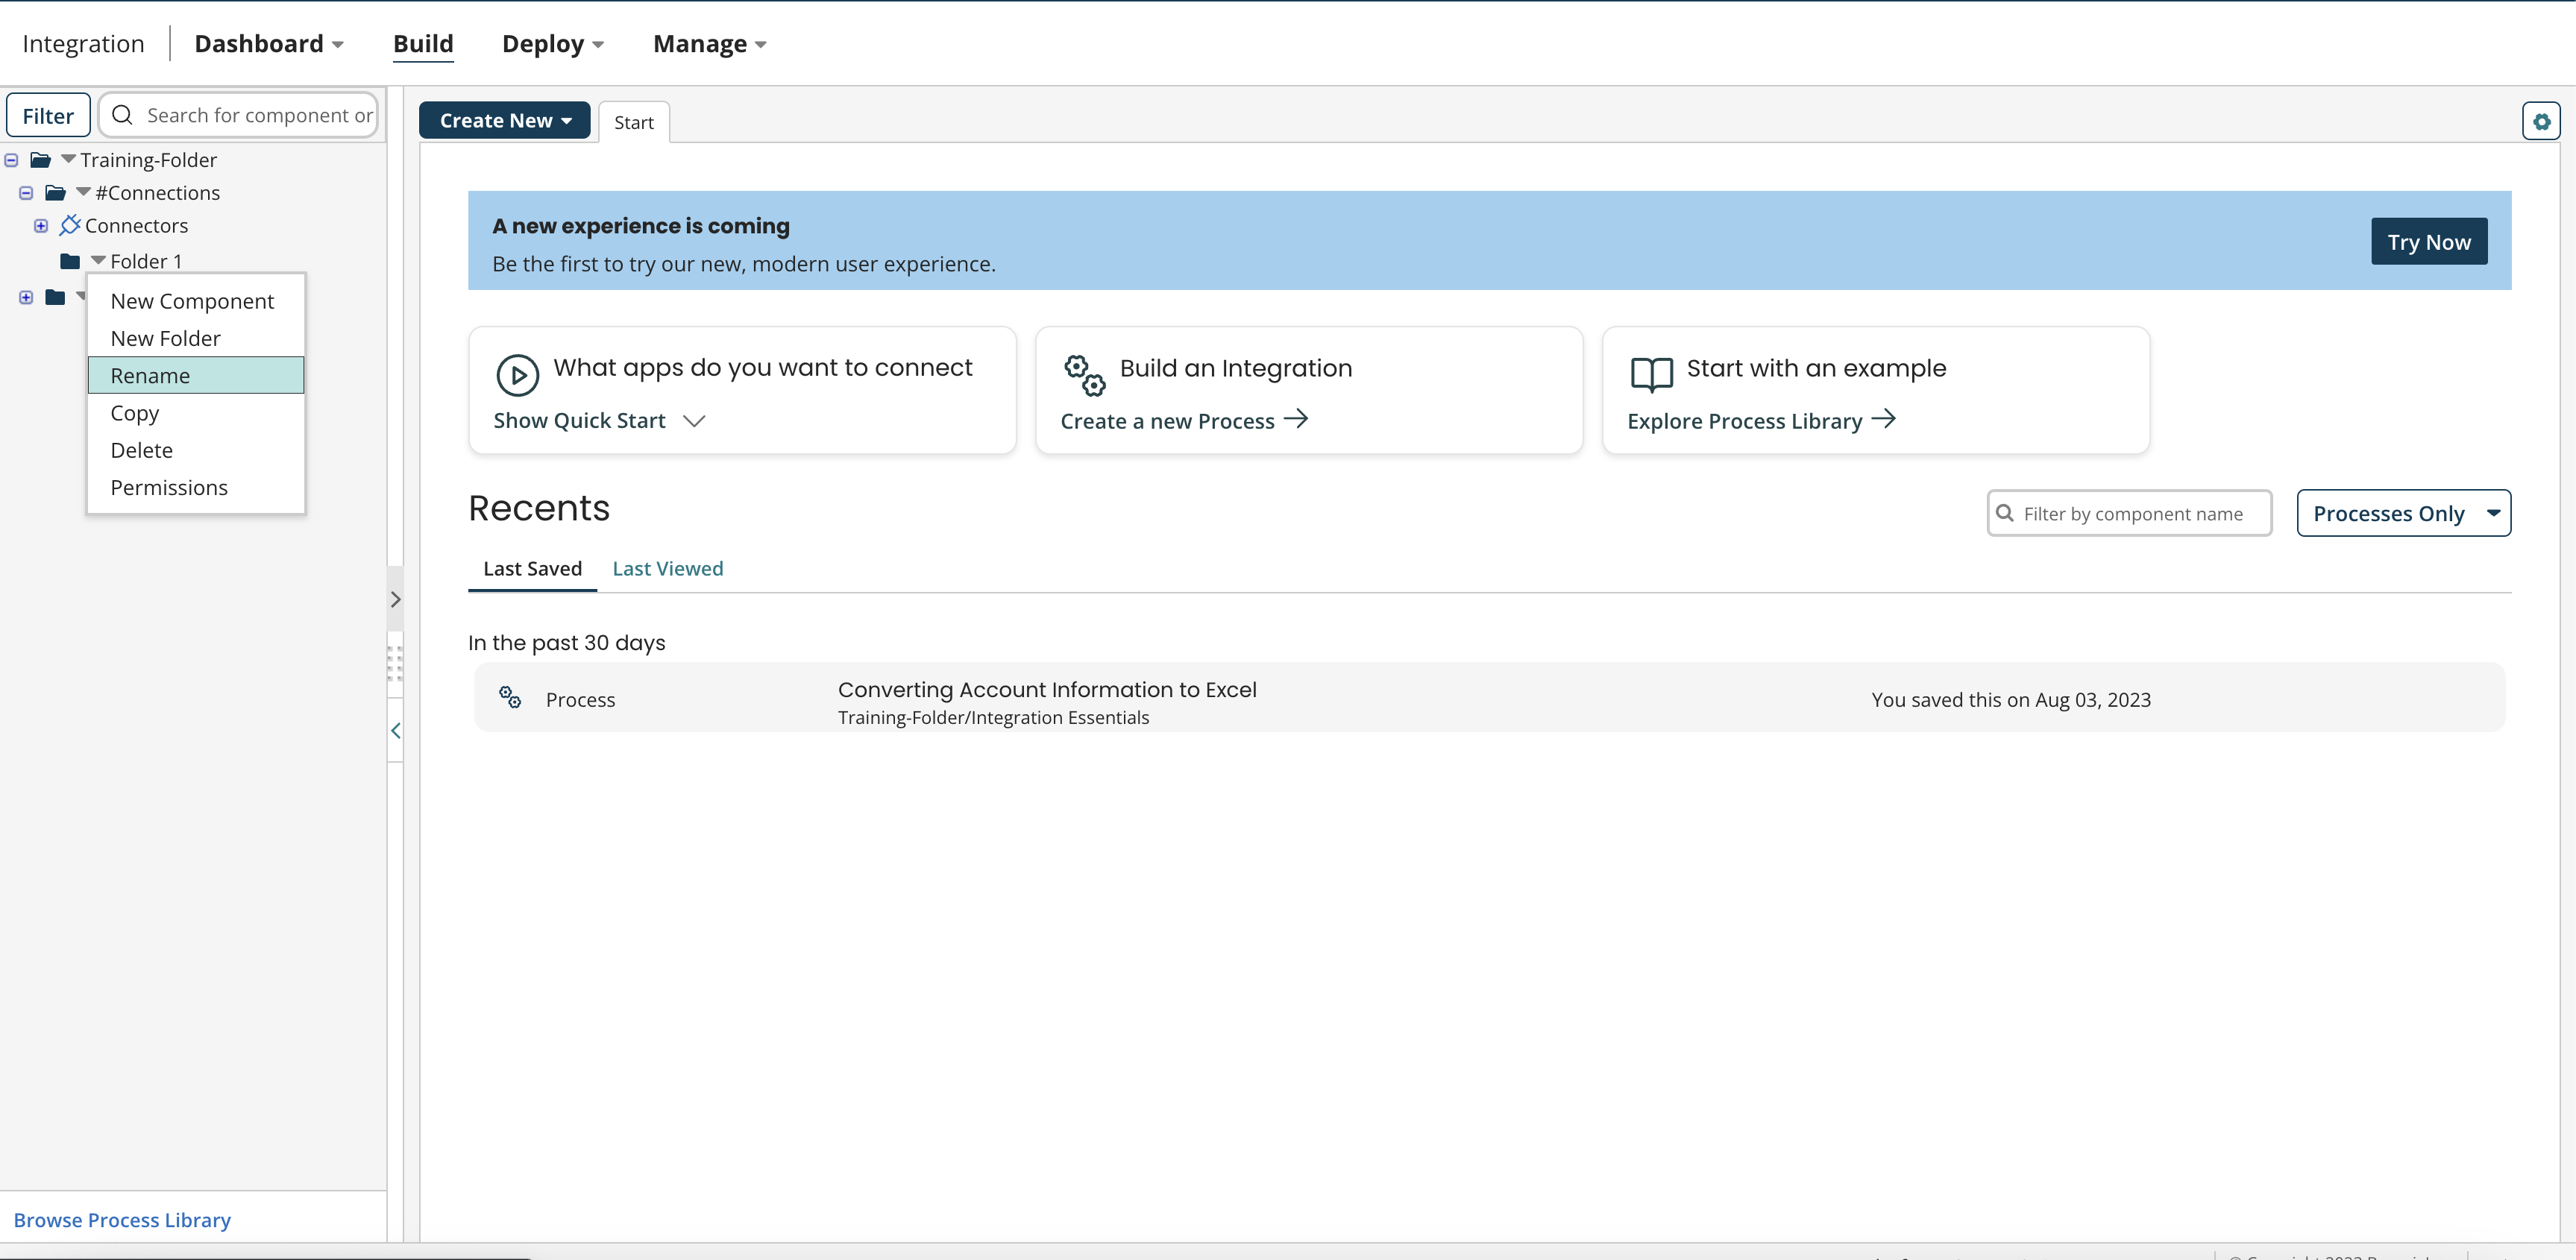
Image 5: Rename option
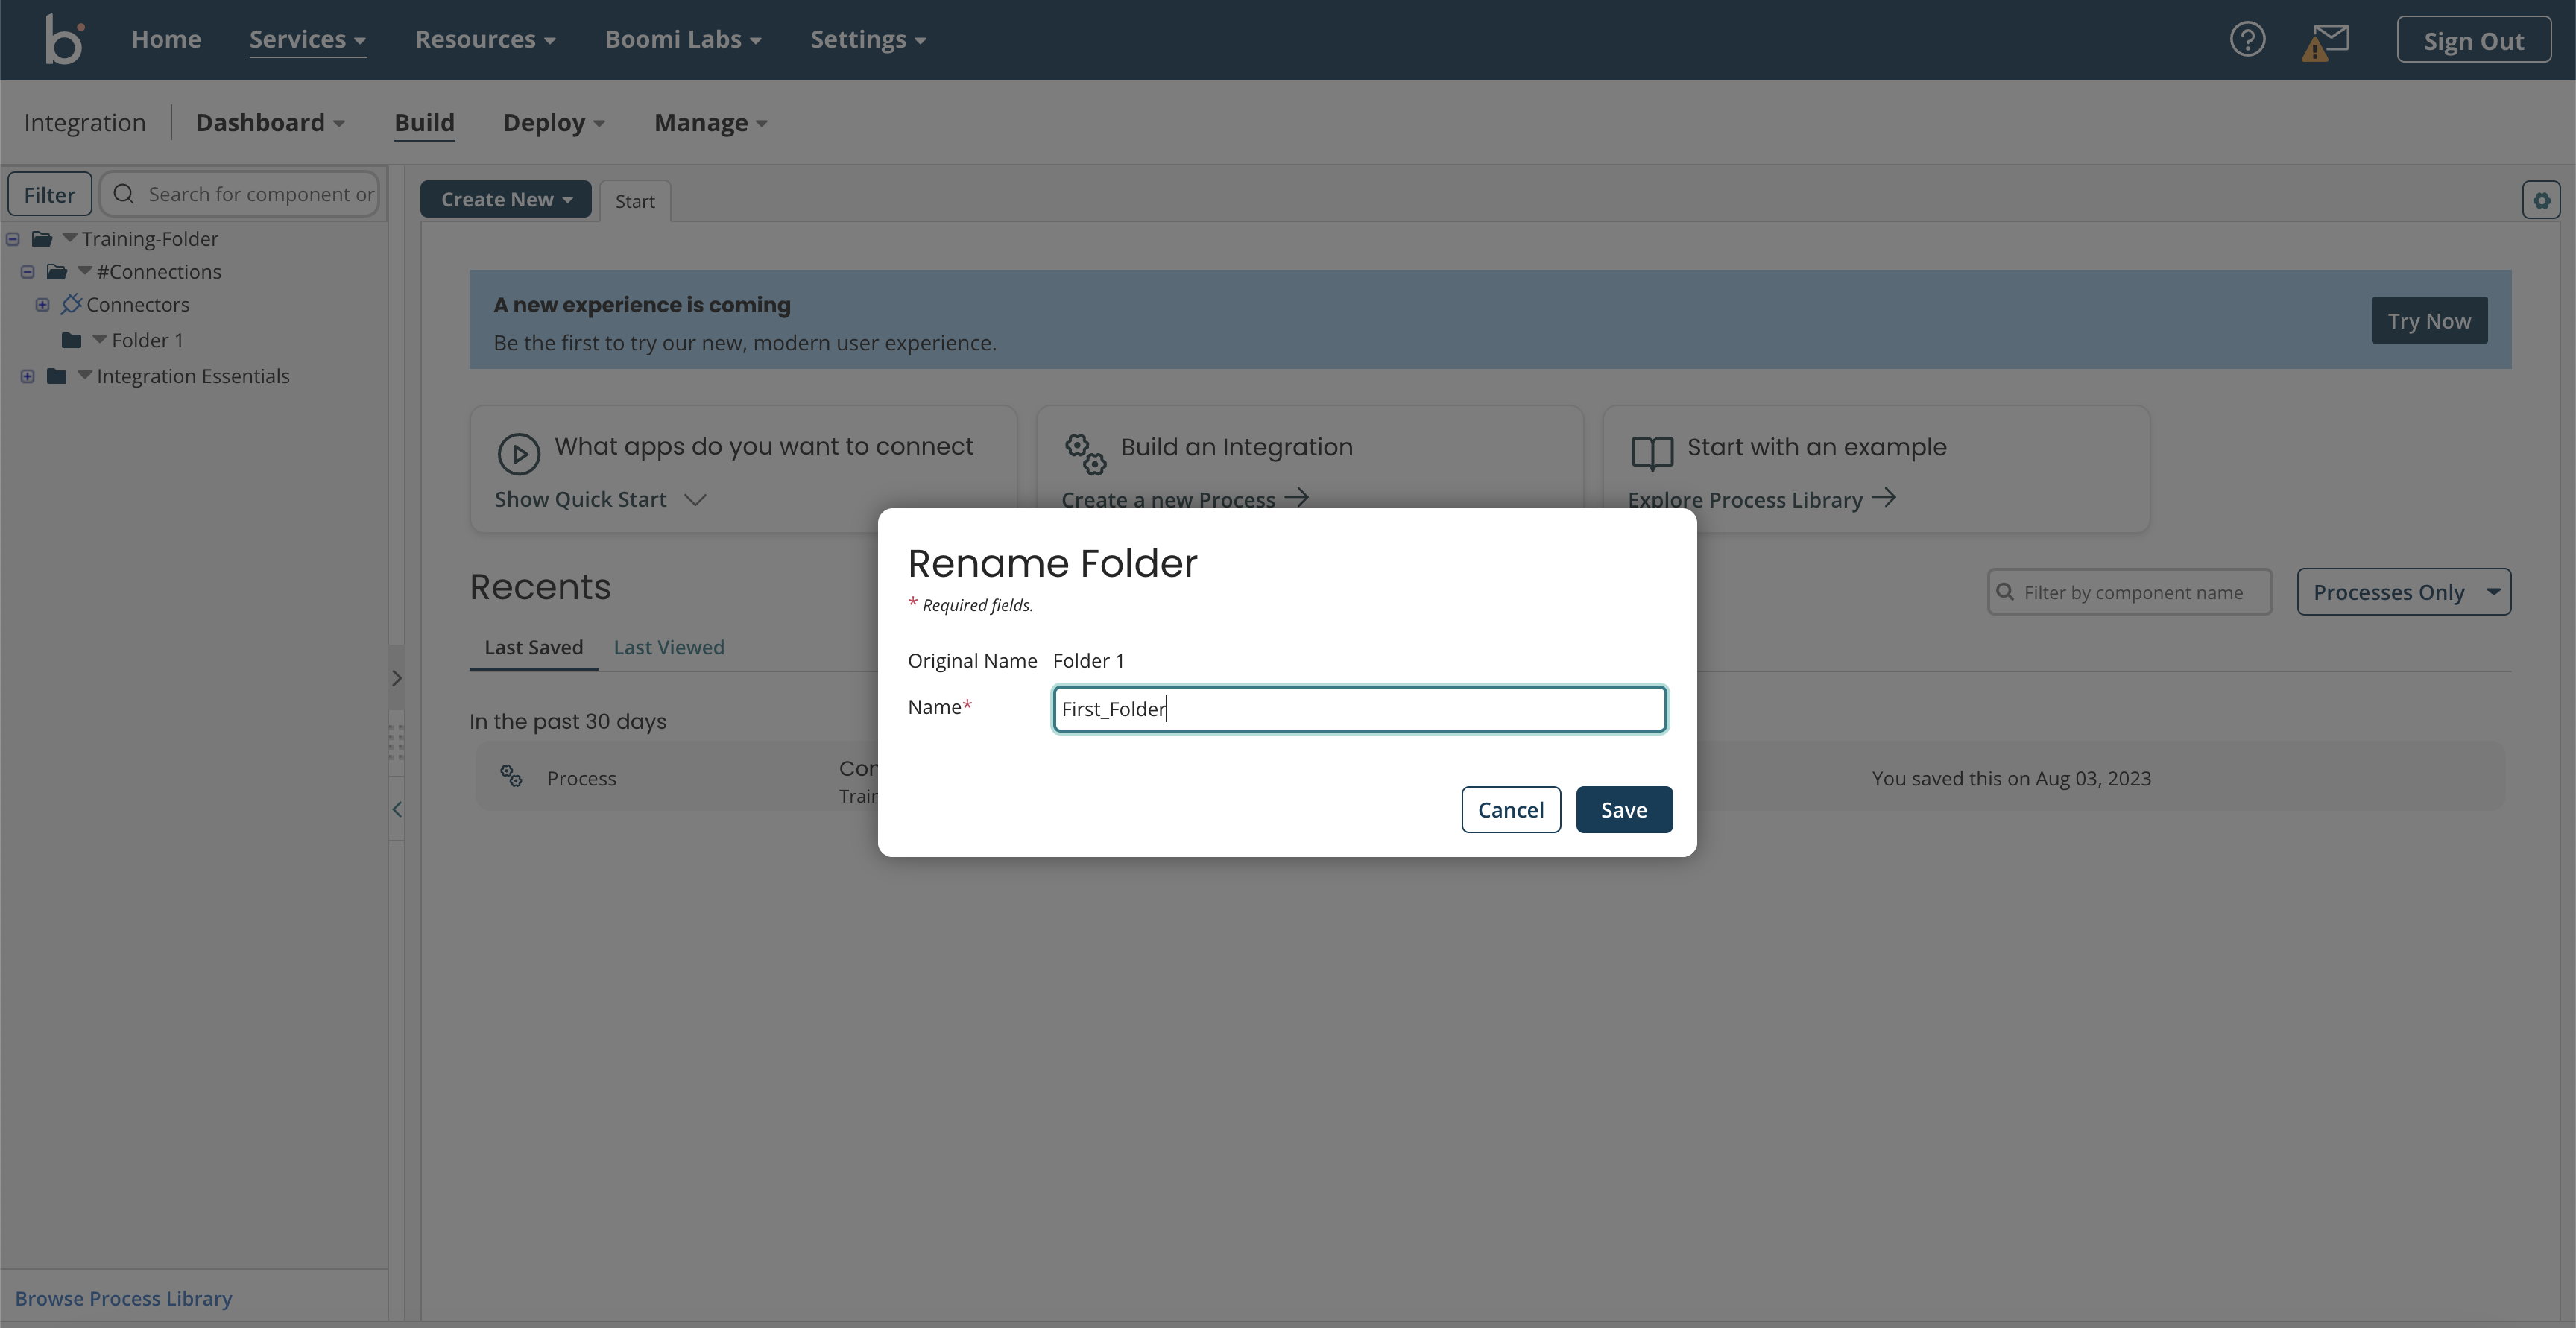
Image 6: Enter new name
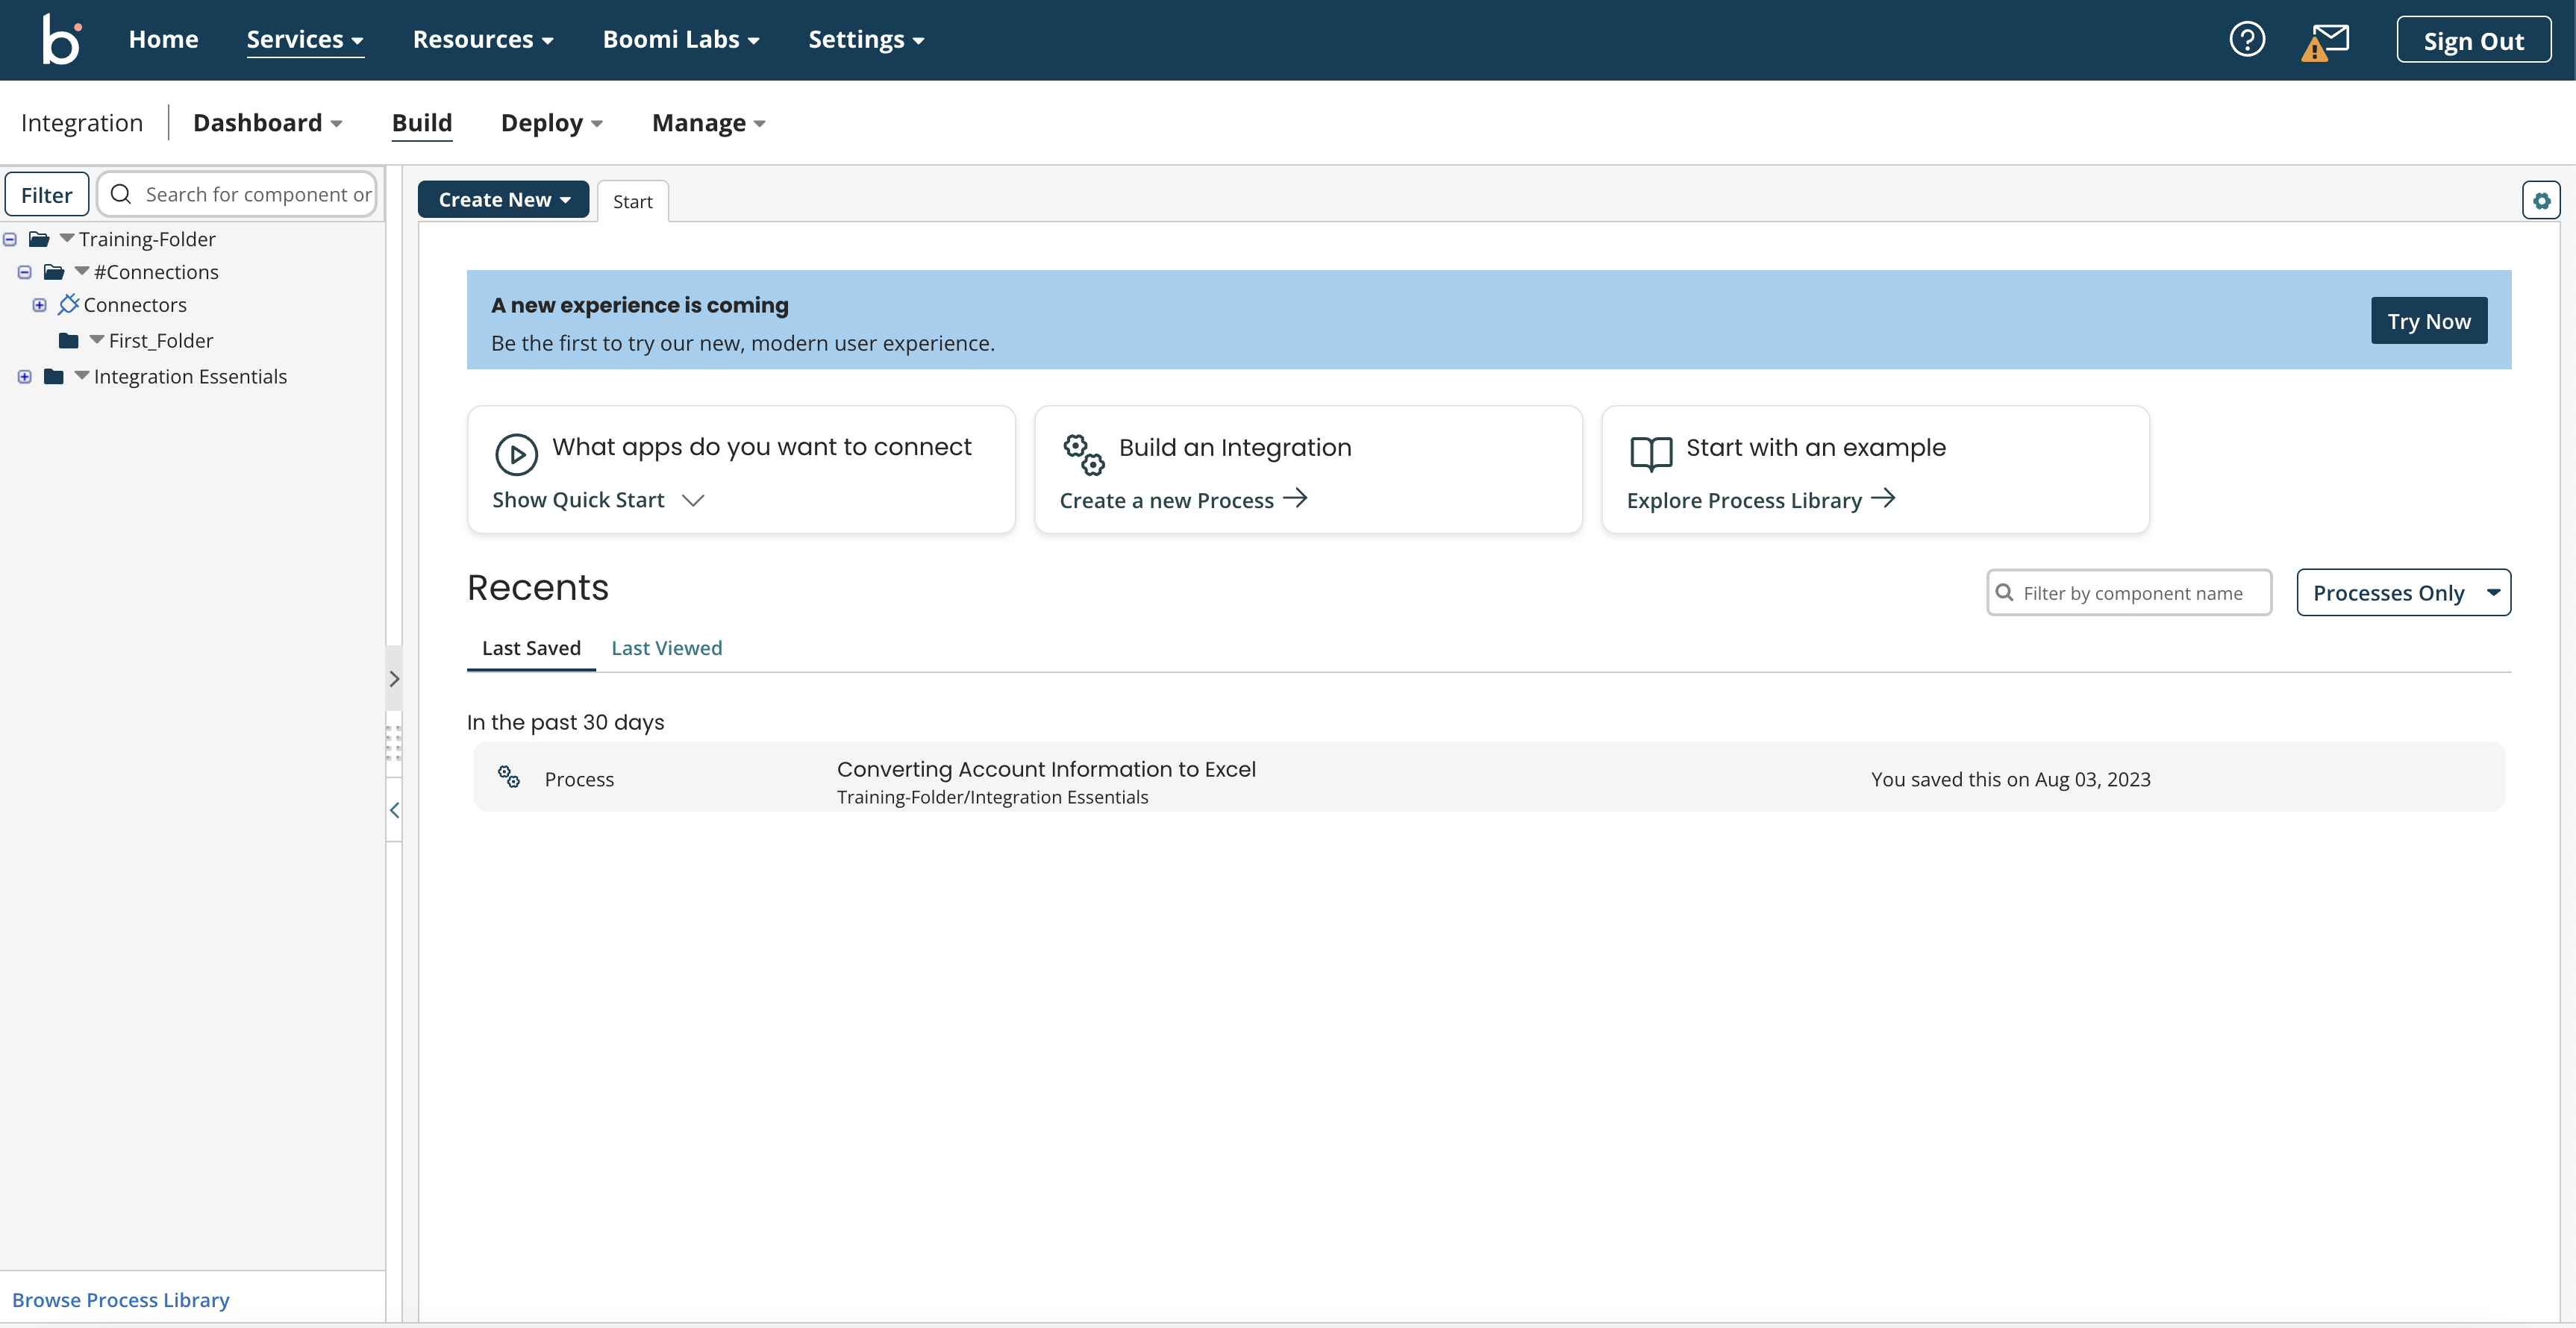
Image 7: Saved folder with new name
- To delete your newly created folder, click on the option ‘Delete’ from the dropdown menu. A pop-up asks for your confirmation. Click OK.

Image 8: Delete option
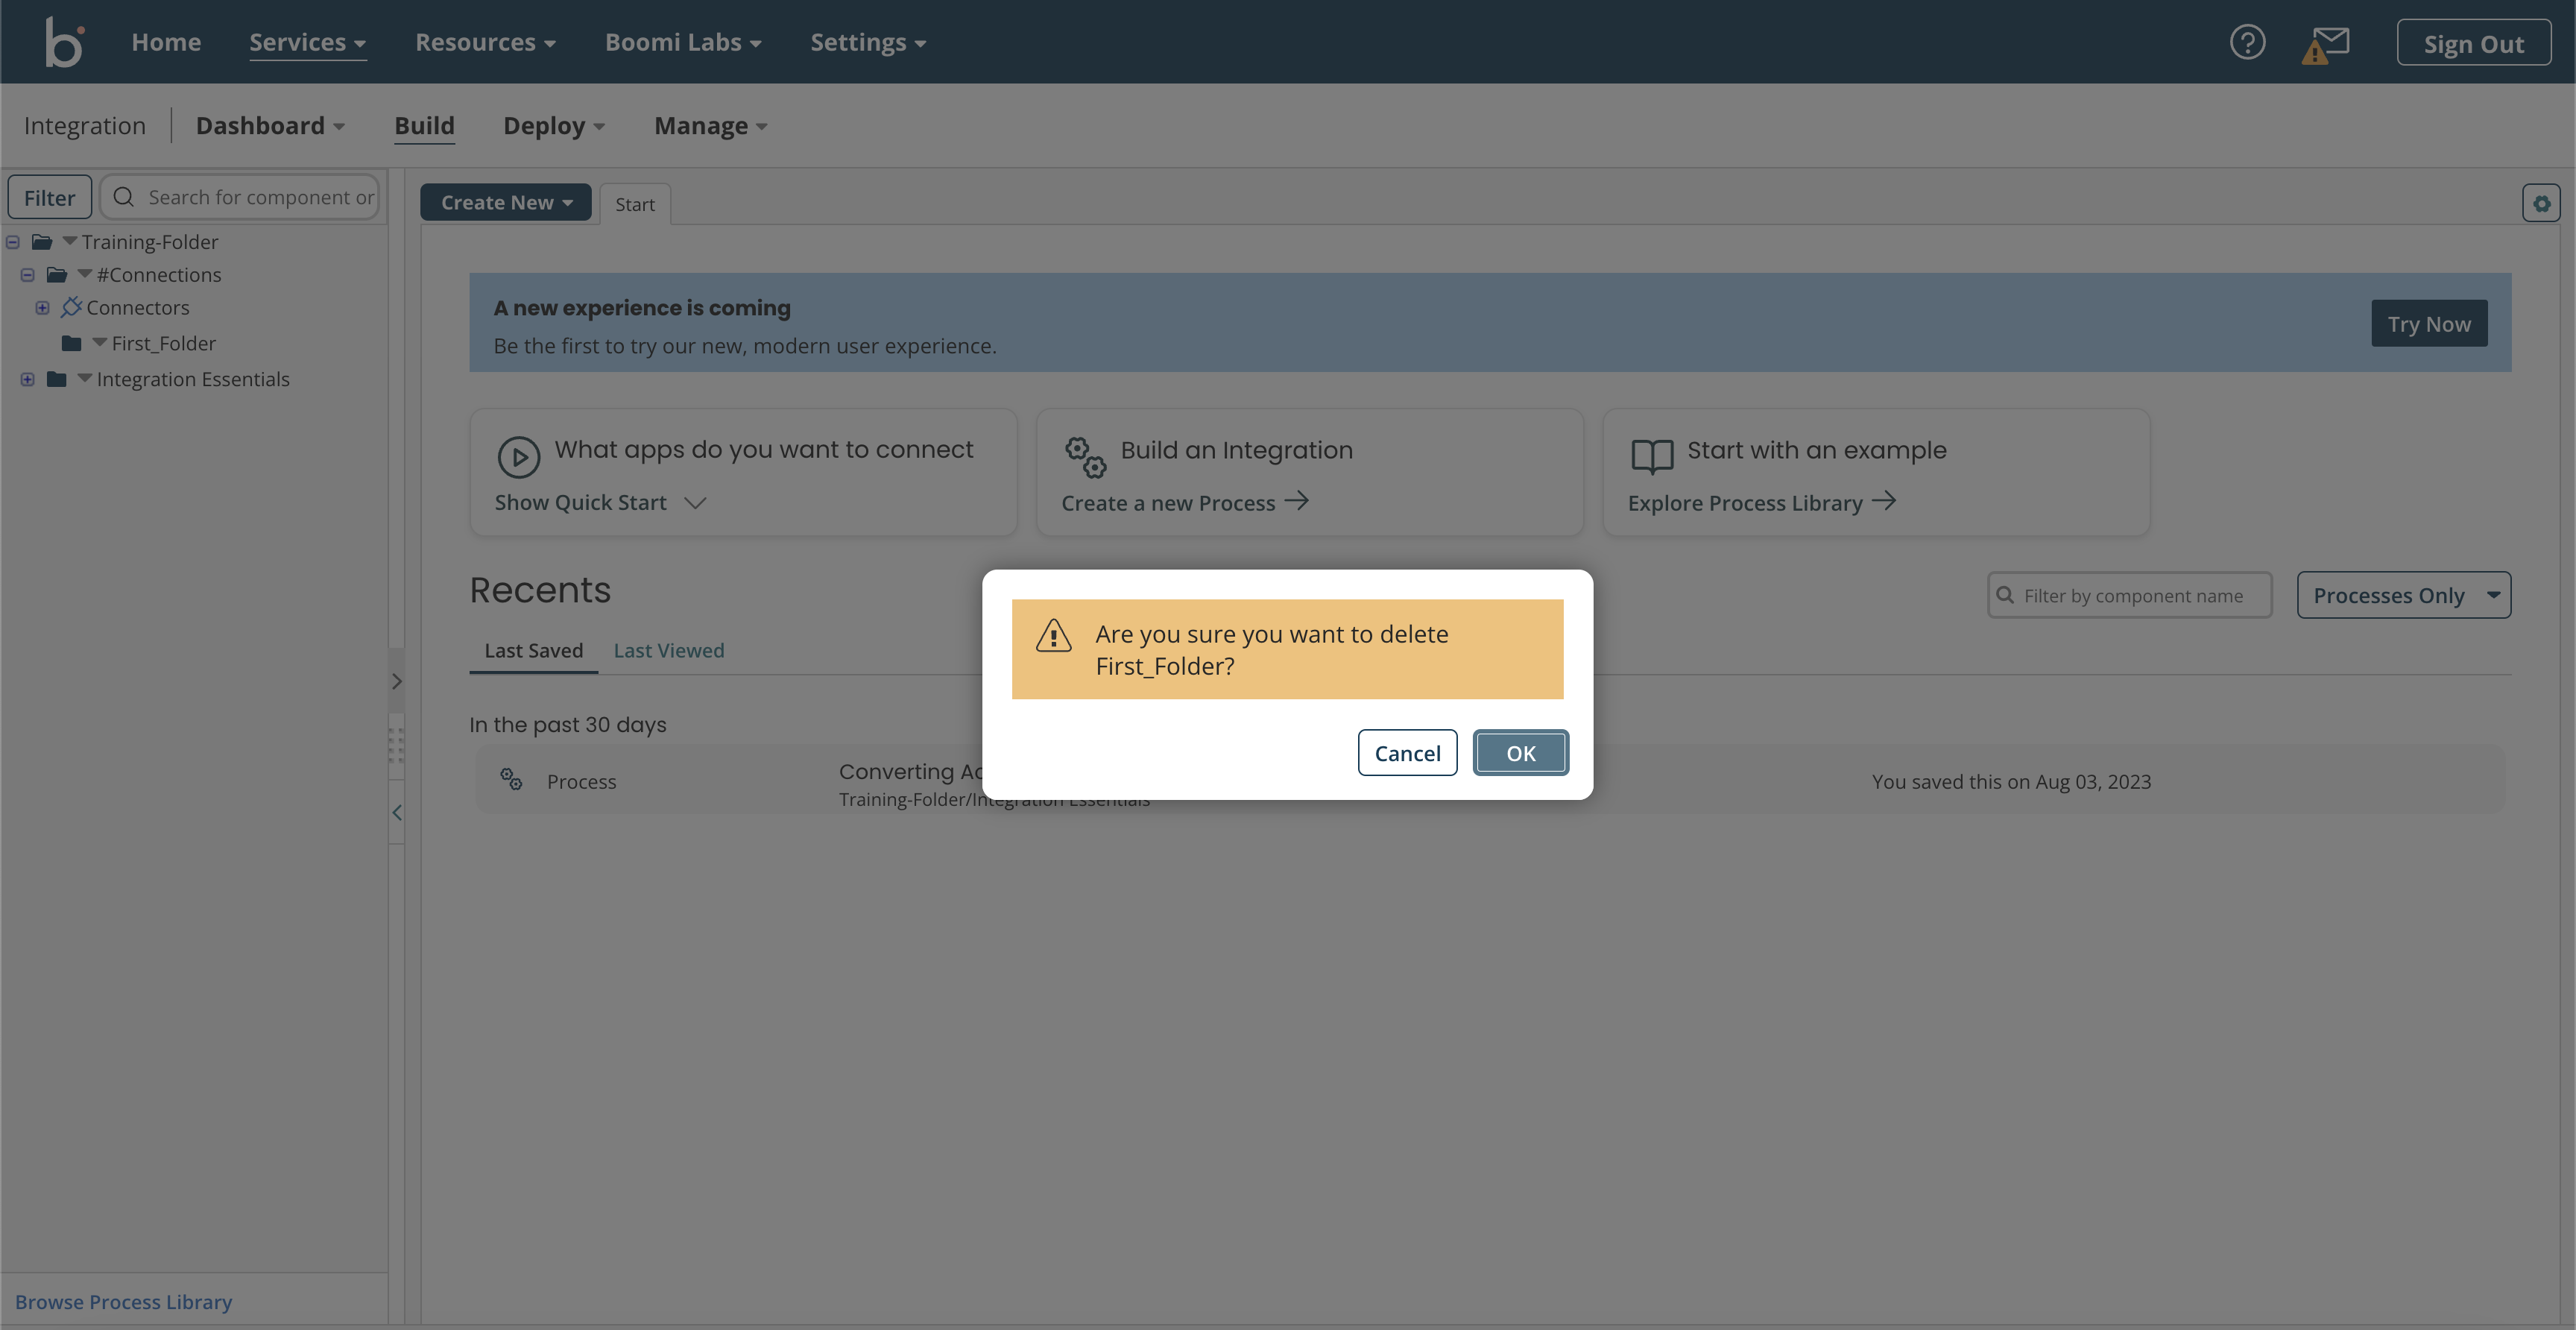
Image 9: Confirmation pop-up
- Permissions are used to restrict access to certain folders based on roles assigned to Boomi users. From the dropdown menu of your folder, select ‘Permissions’. A pop-up menu appears allowing you to select a role from the Available Roles list. Using the arrows, you can shift it in and out of the Assigned Roles list. If a user does not have the role assigned to the folder, they will only have read-only access to it.
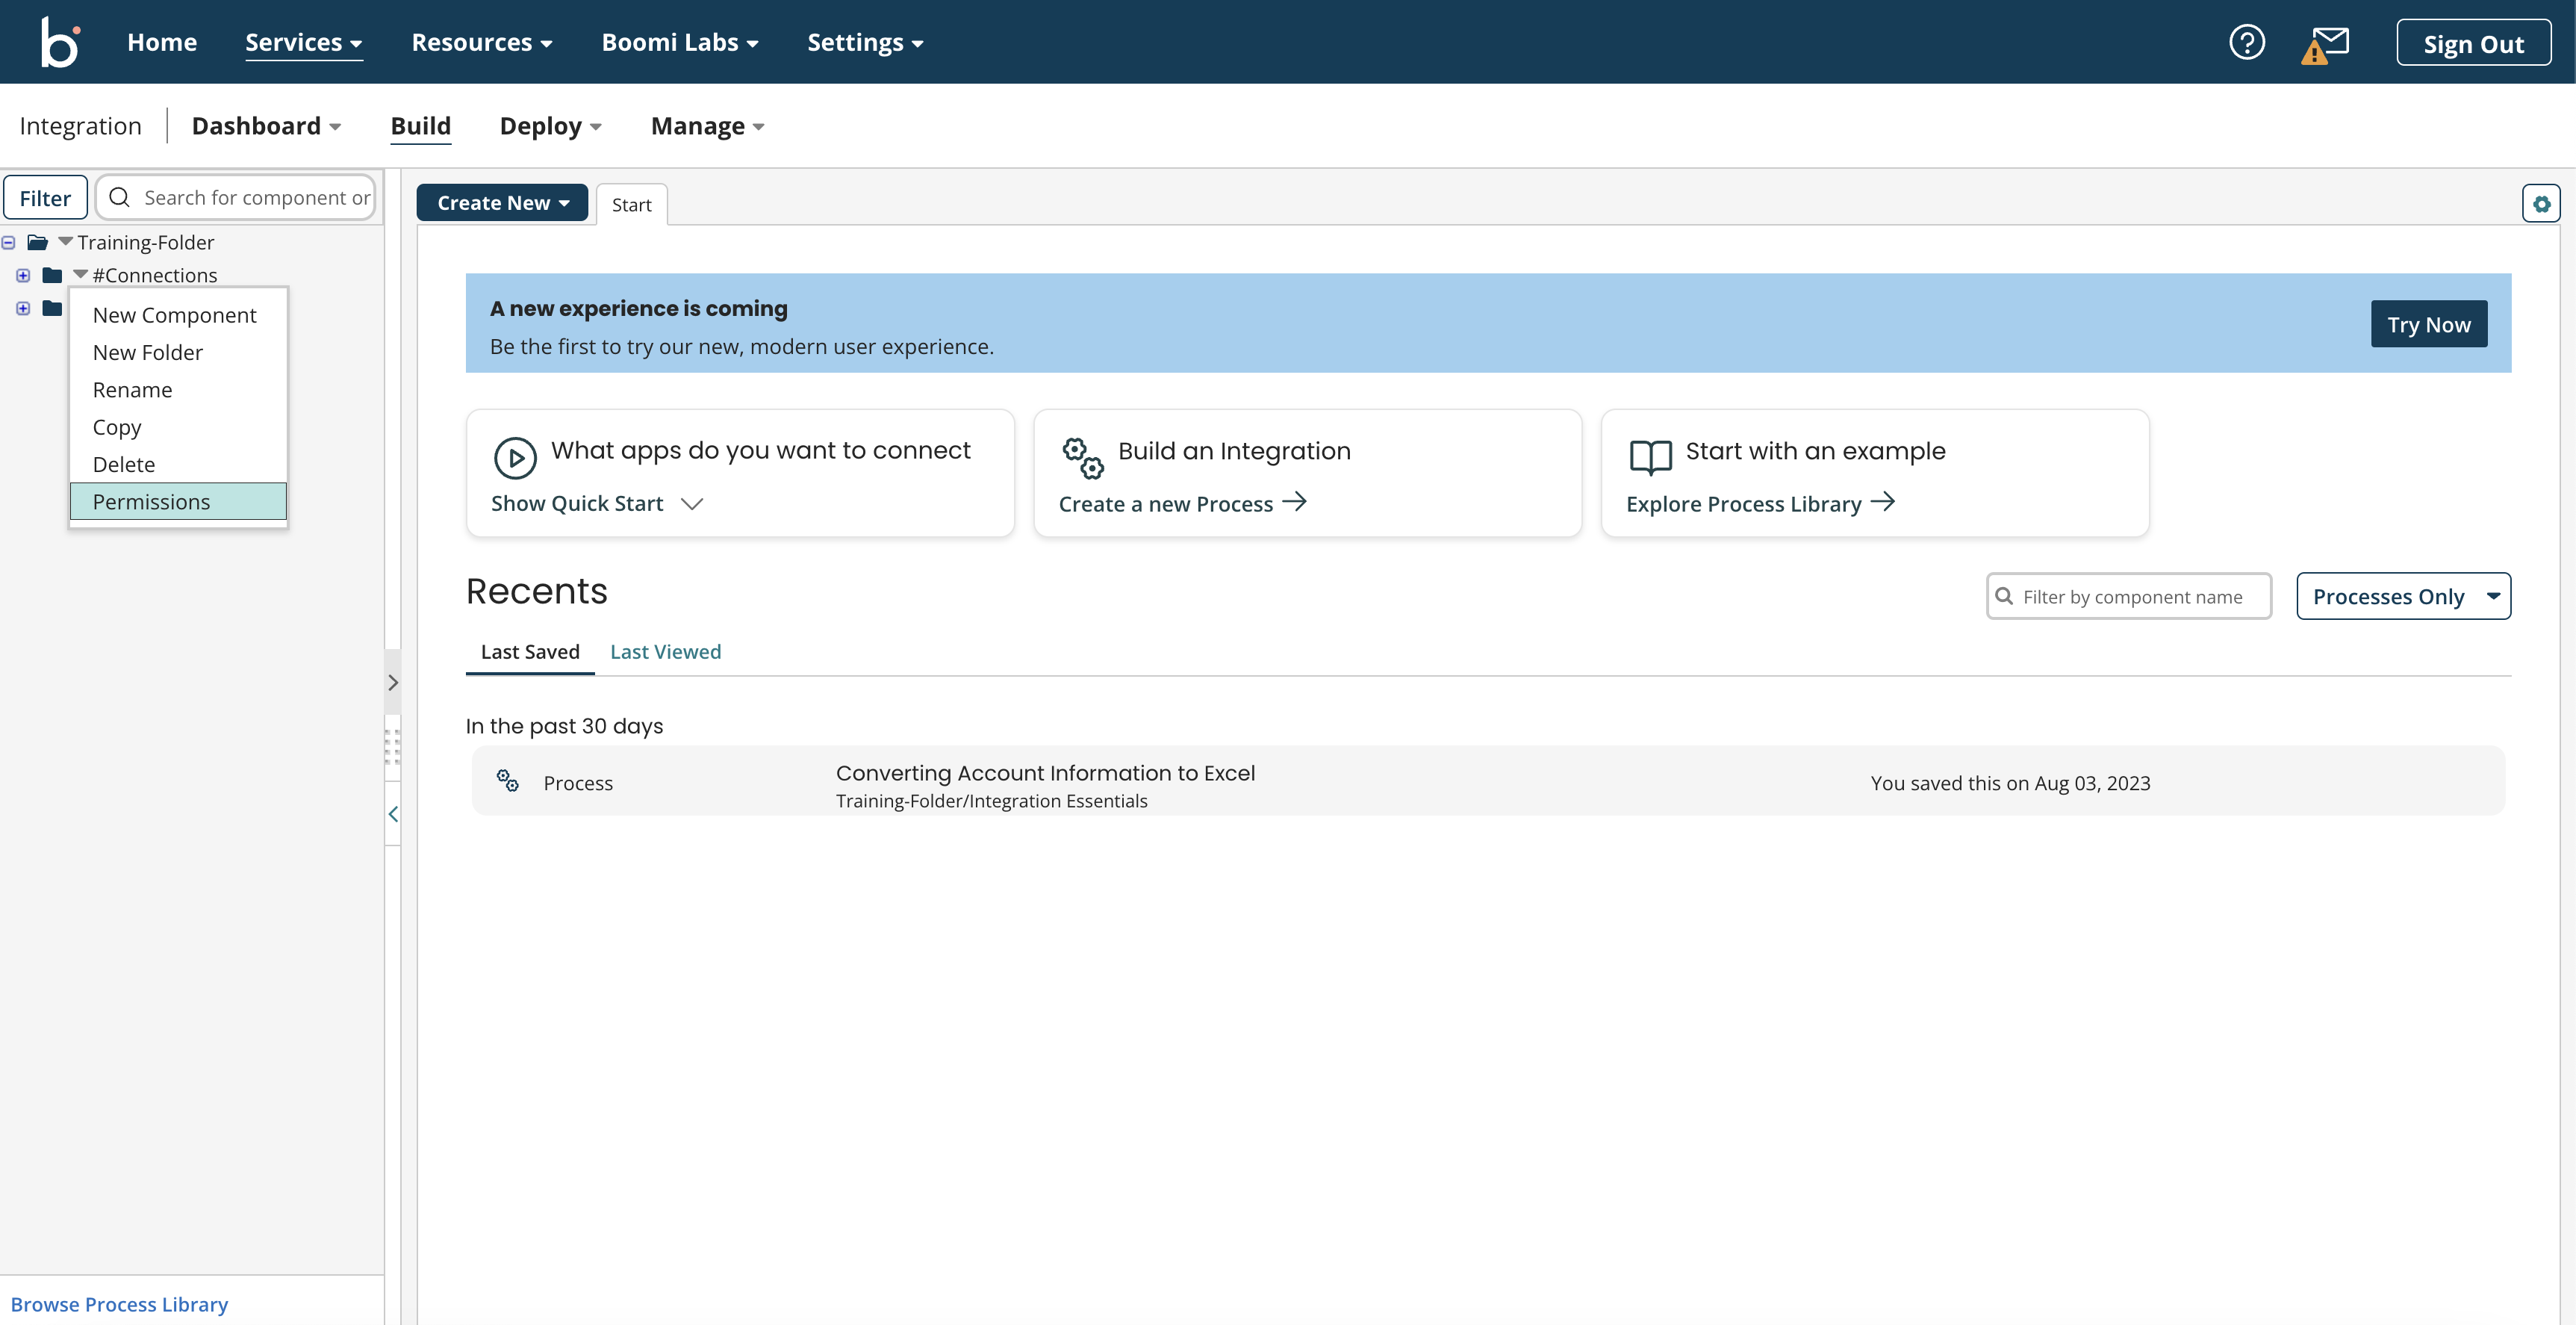
Image 10: Permissions option
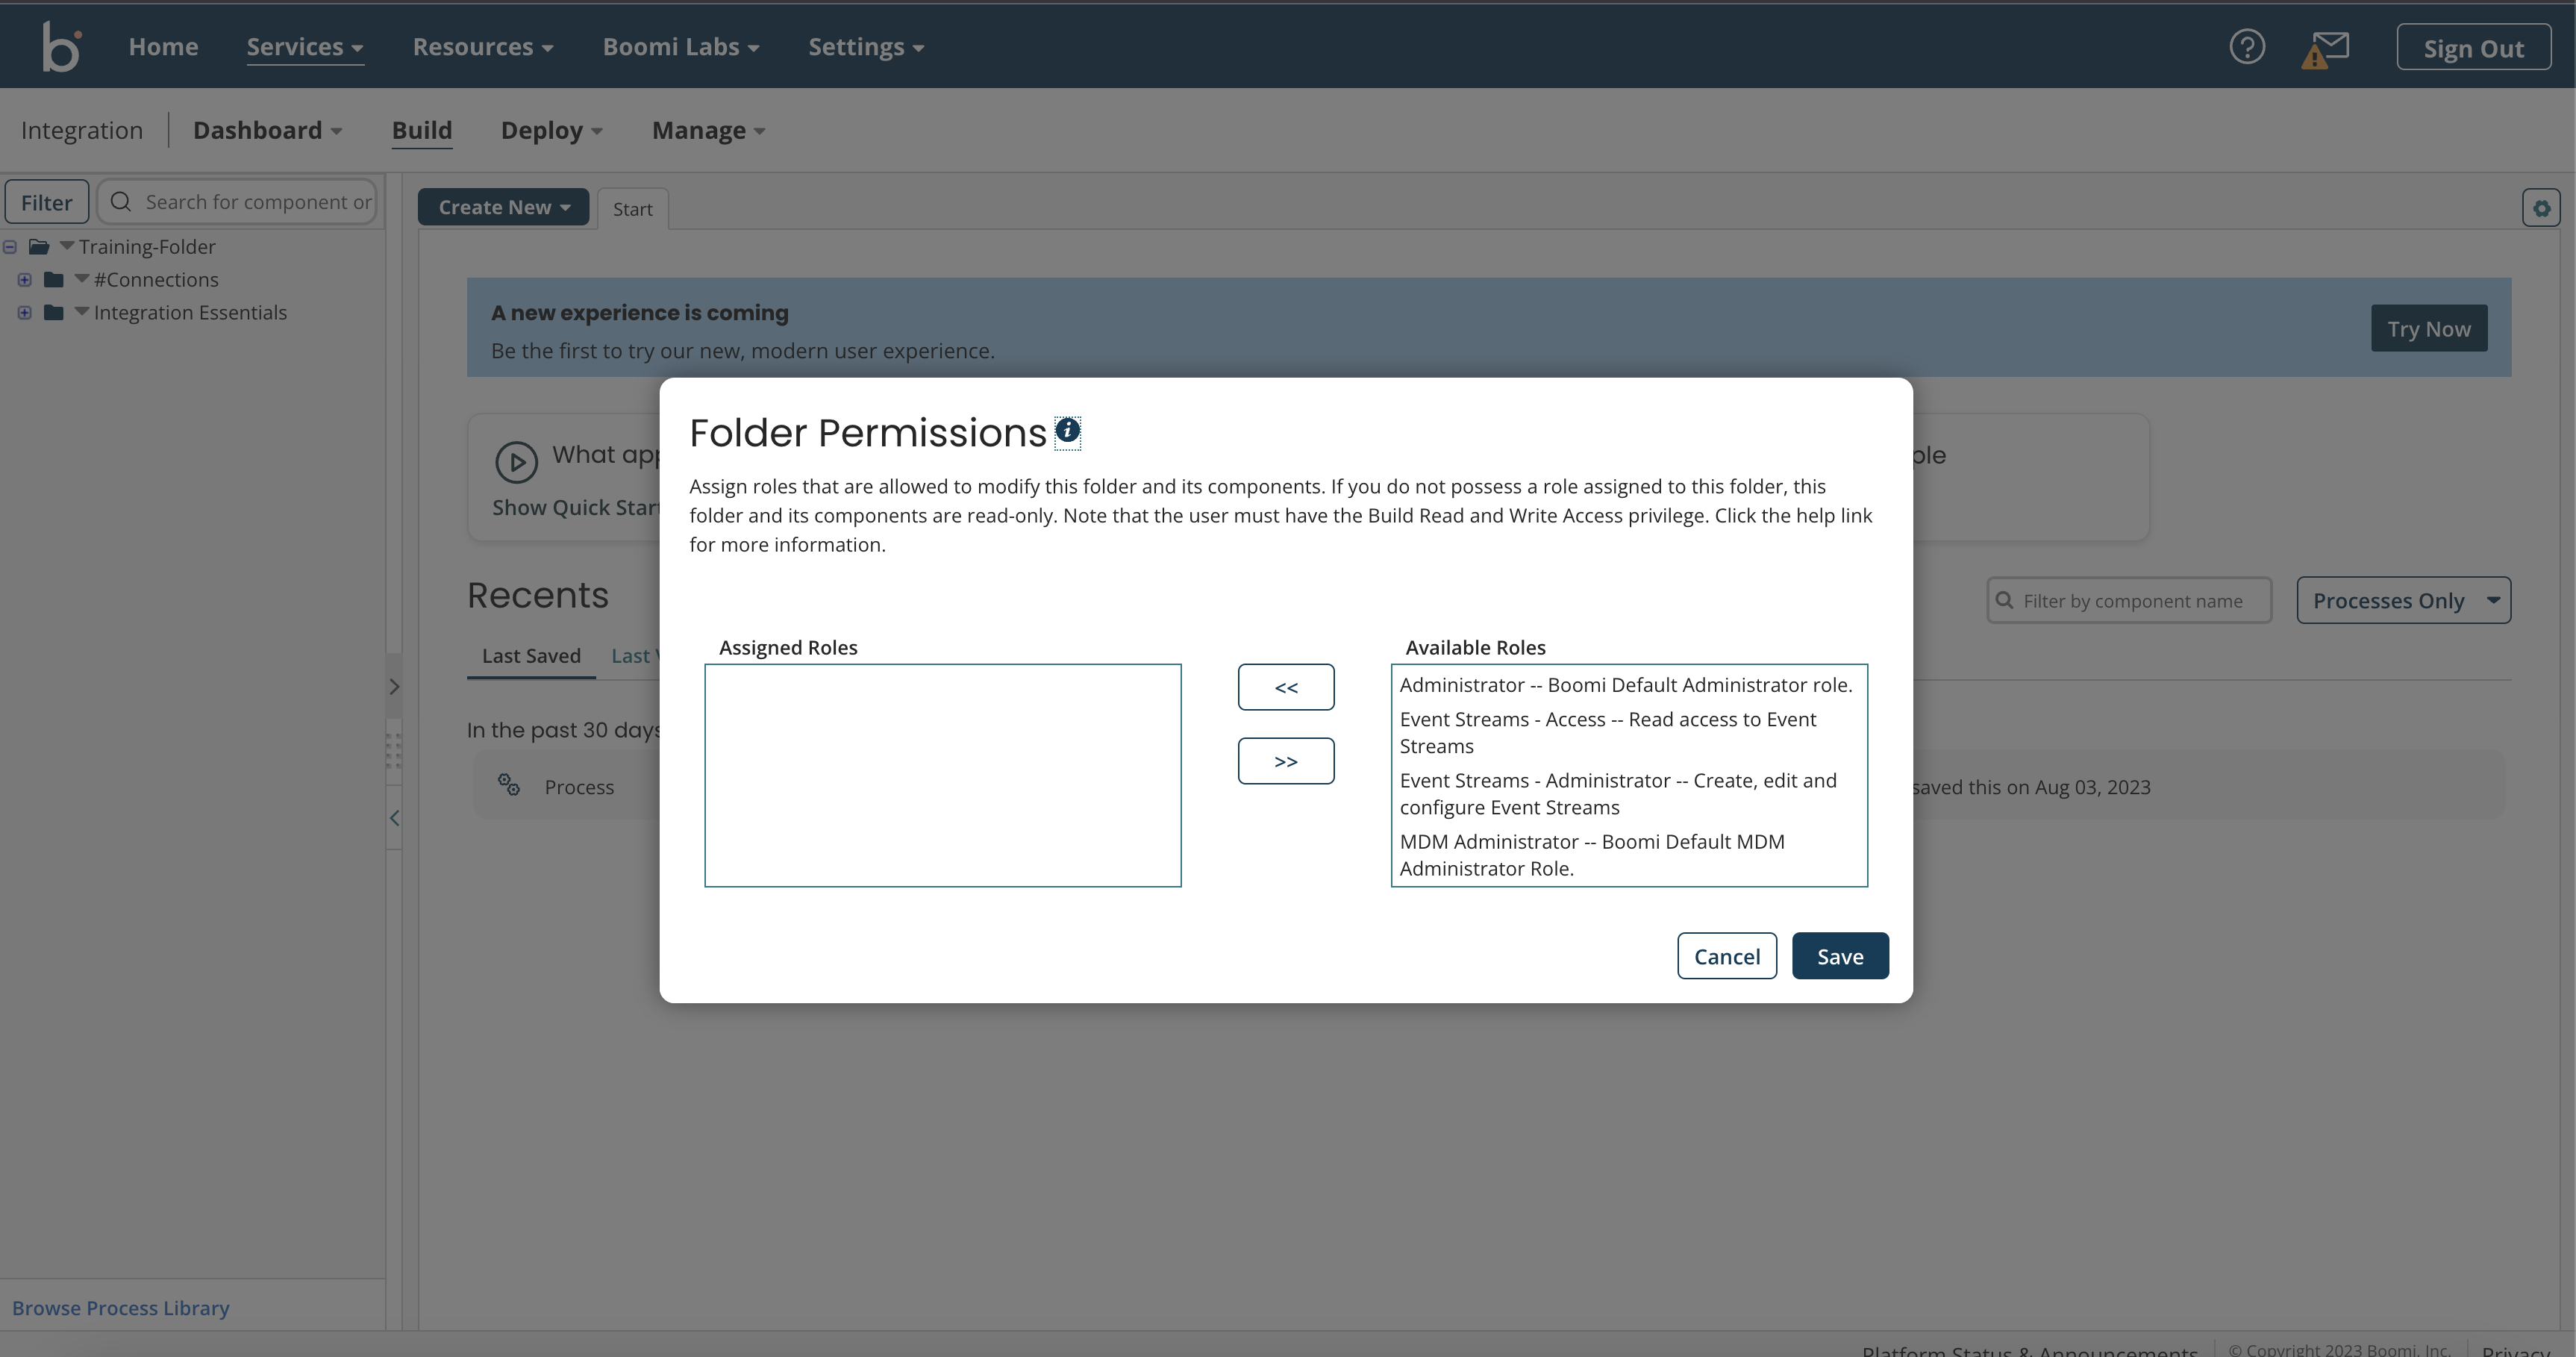
Image 11: Folder permissions pop-up
- The option ‘Copy’ is used to replicate the contents of one folder into another. You can choose which account you want to copy your folder. Select a destination folder and tick the options you want from the pop-up (such as if you want to copy all subfolders from the source to the destination folder). Click OK to finish copying your contents.

Image 12: Copy option
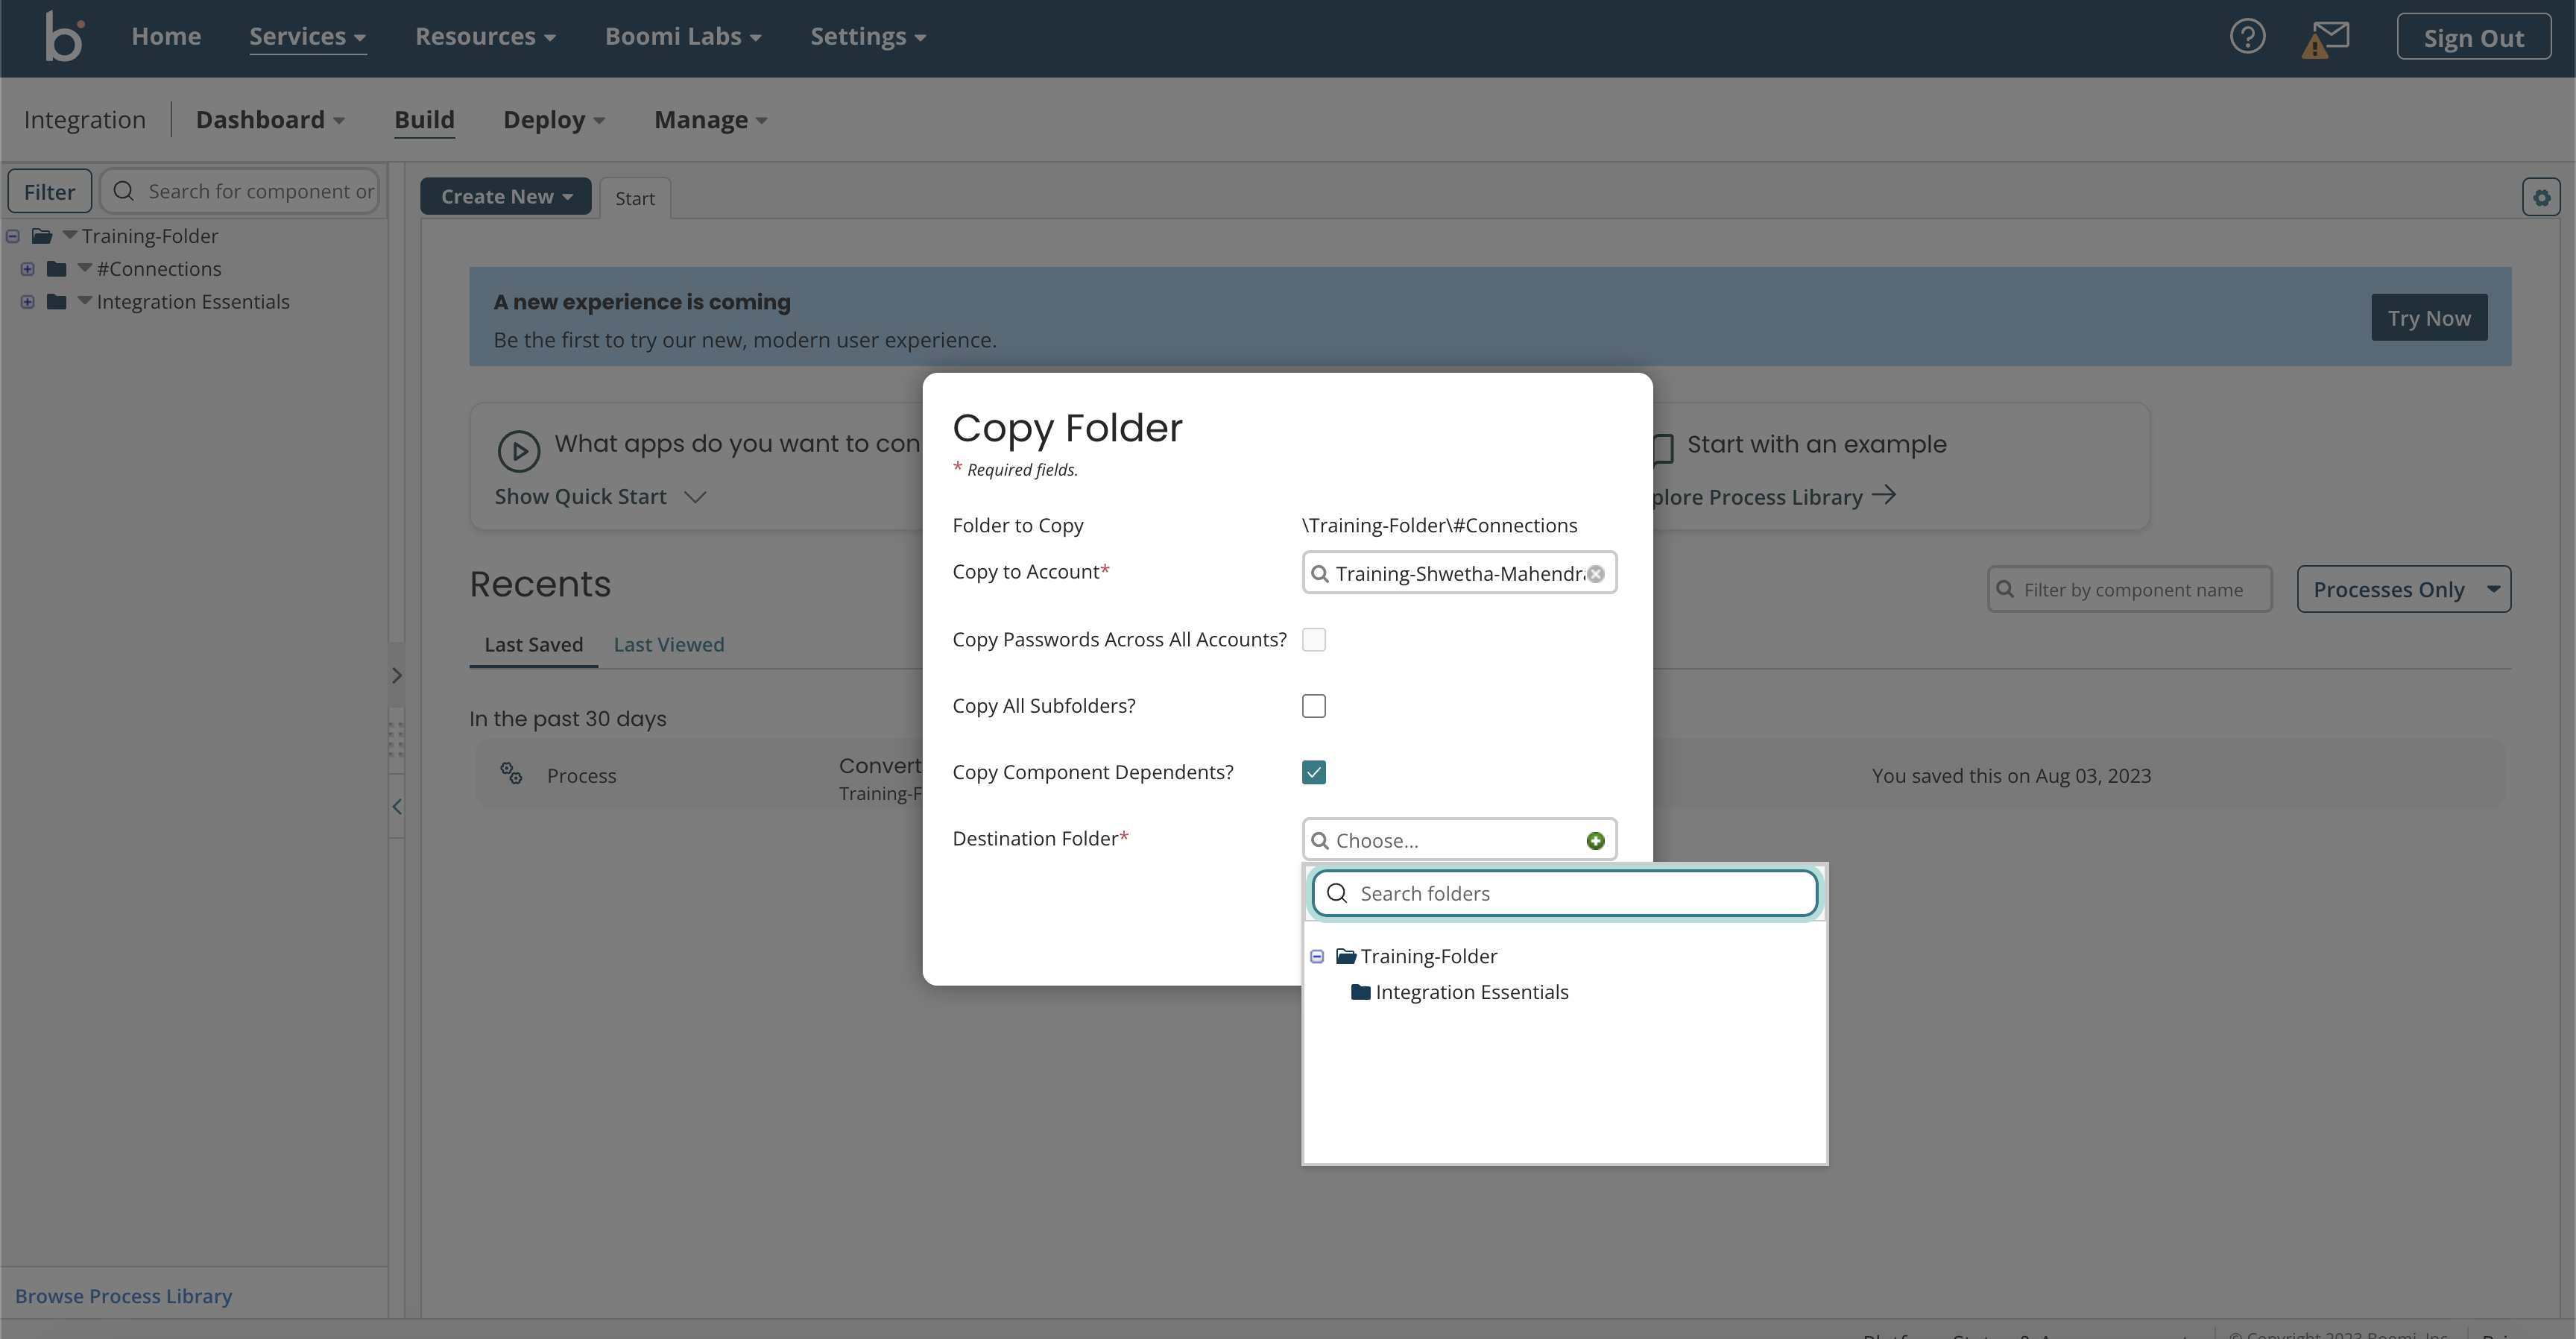
Image 13: Copy folder pop-up
- Lastly, we can add components to our created folder by clicking on the ‘New Component’ option. A component is a reusable configuration object that can be used across multiple processes. All you need to do is select the type of component you would like to create from the ‘Type’ dropdown menu and confirm your choice.
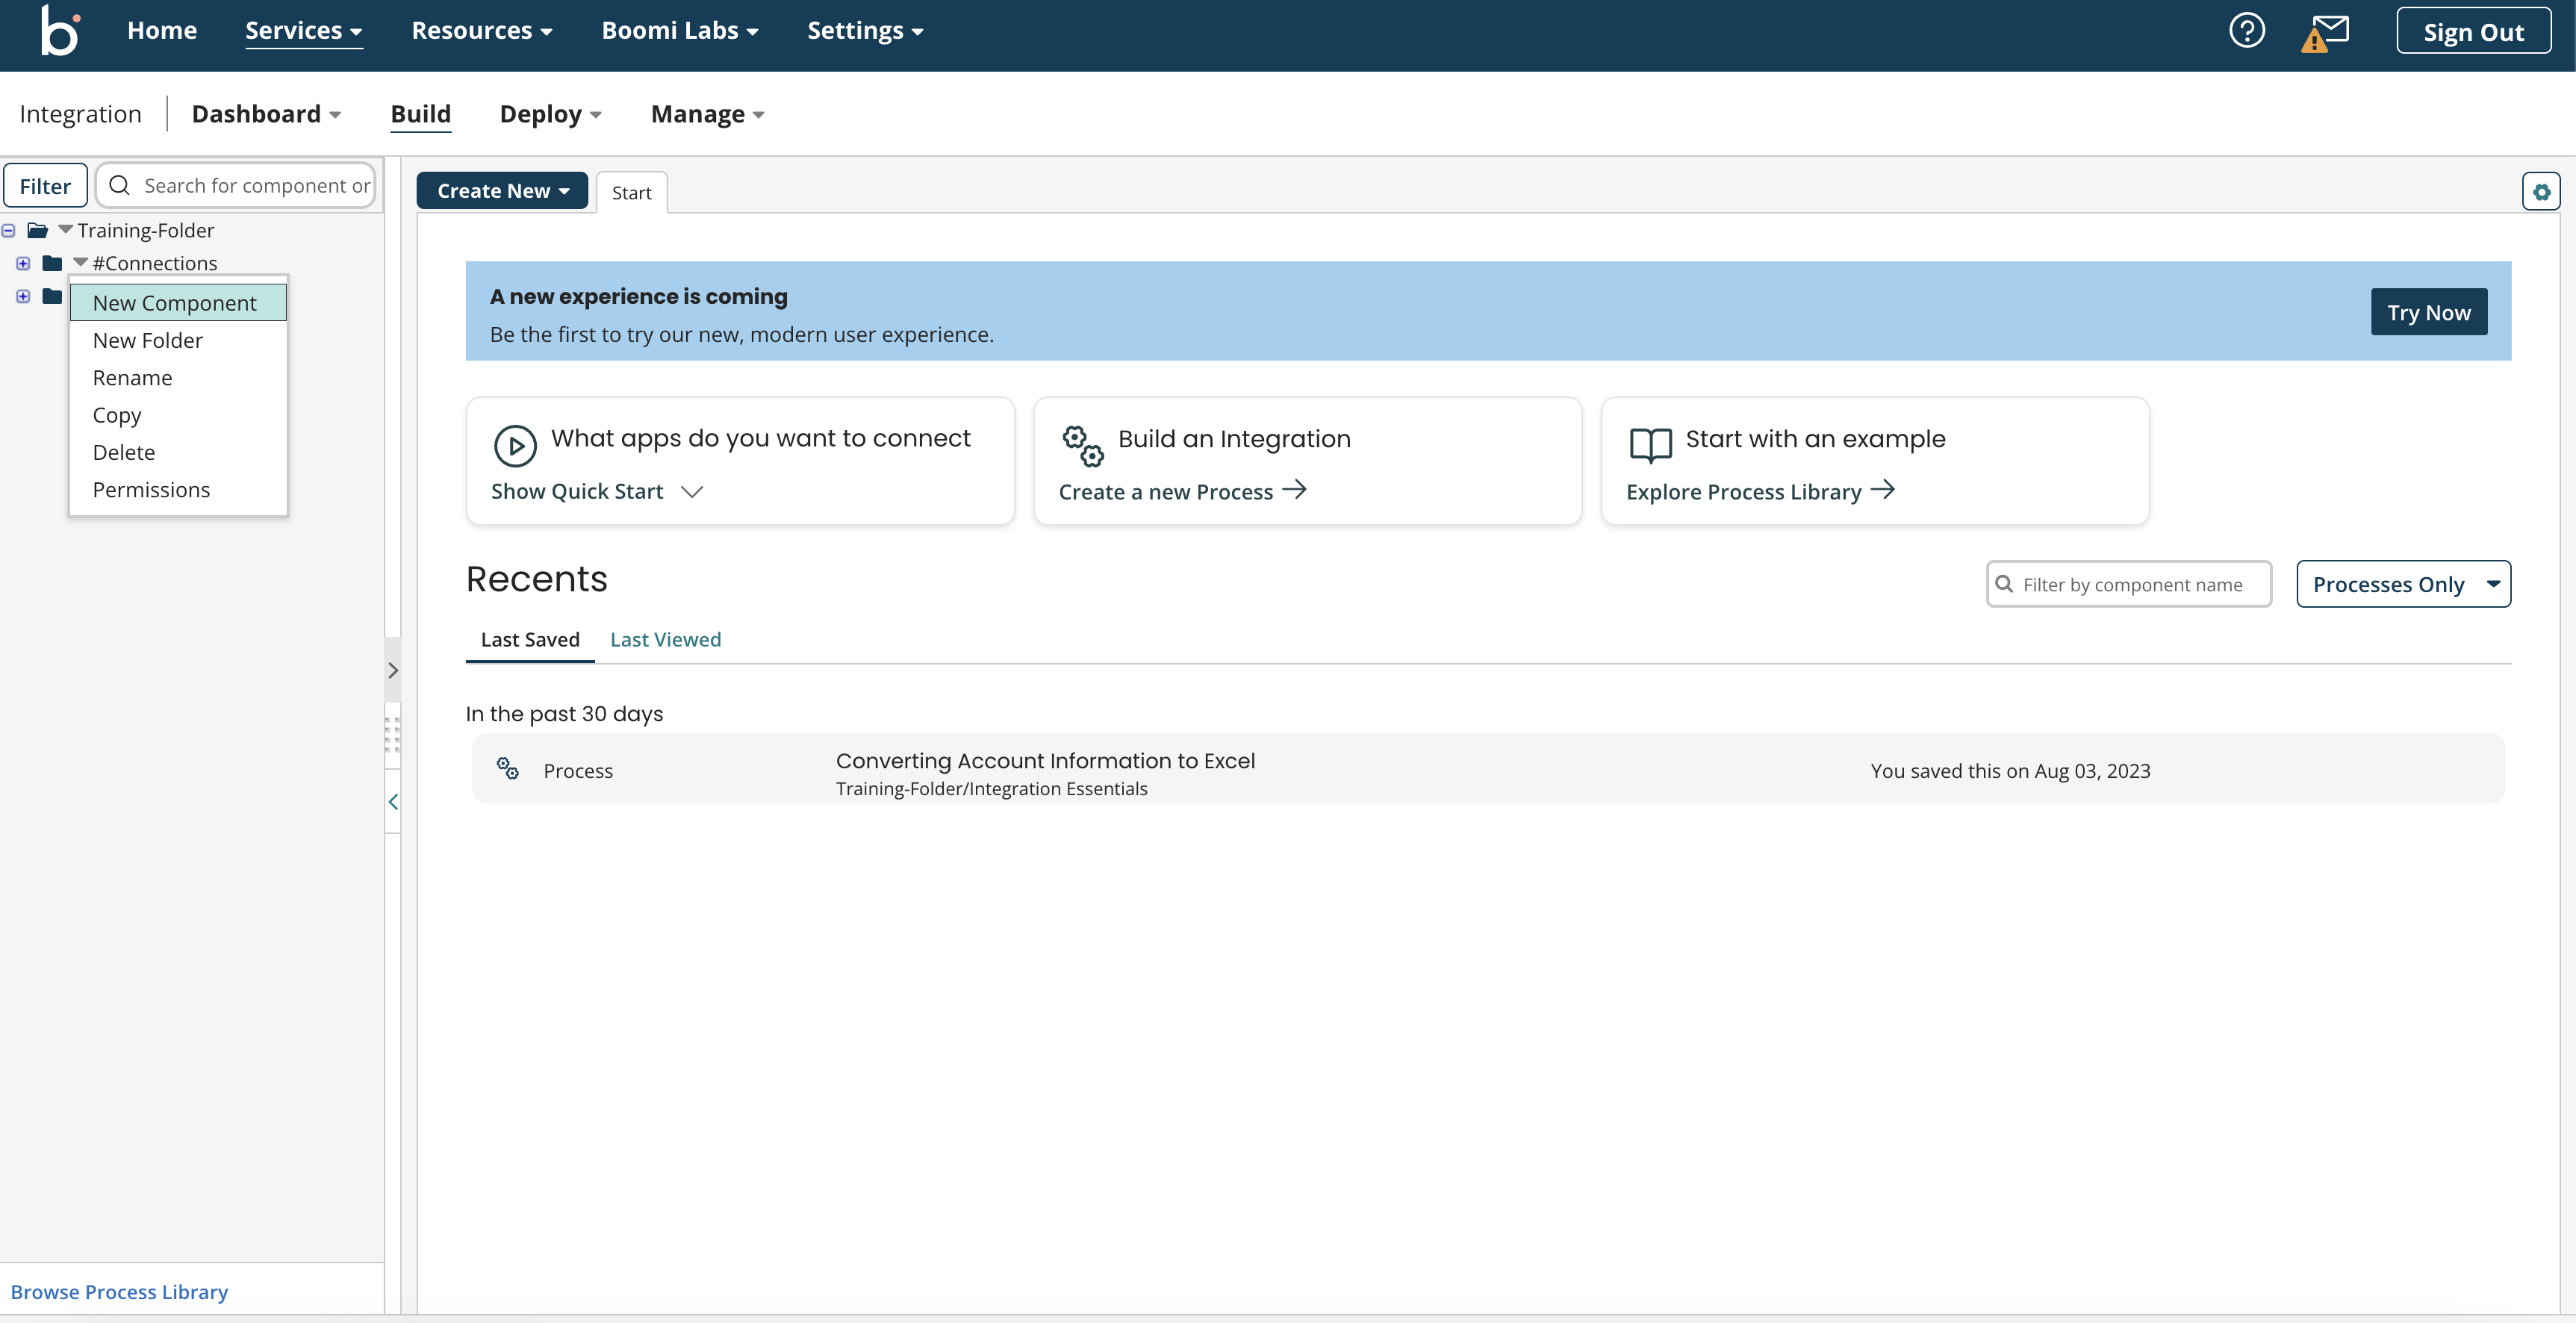
Image 14: New component option
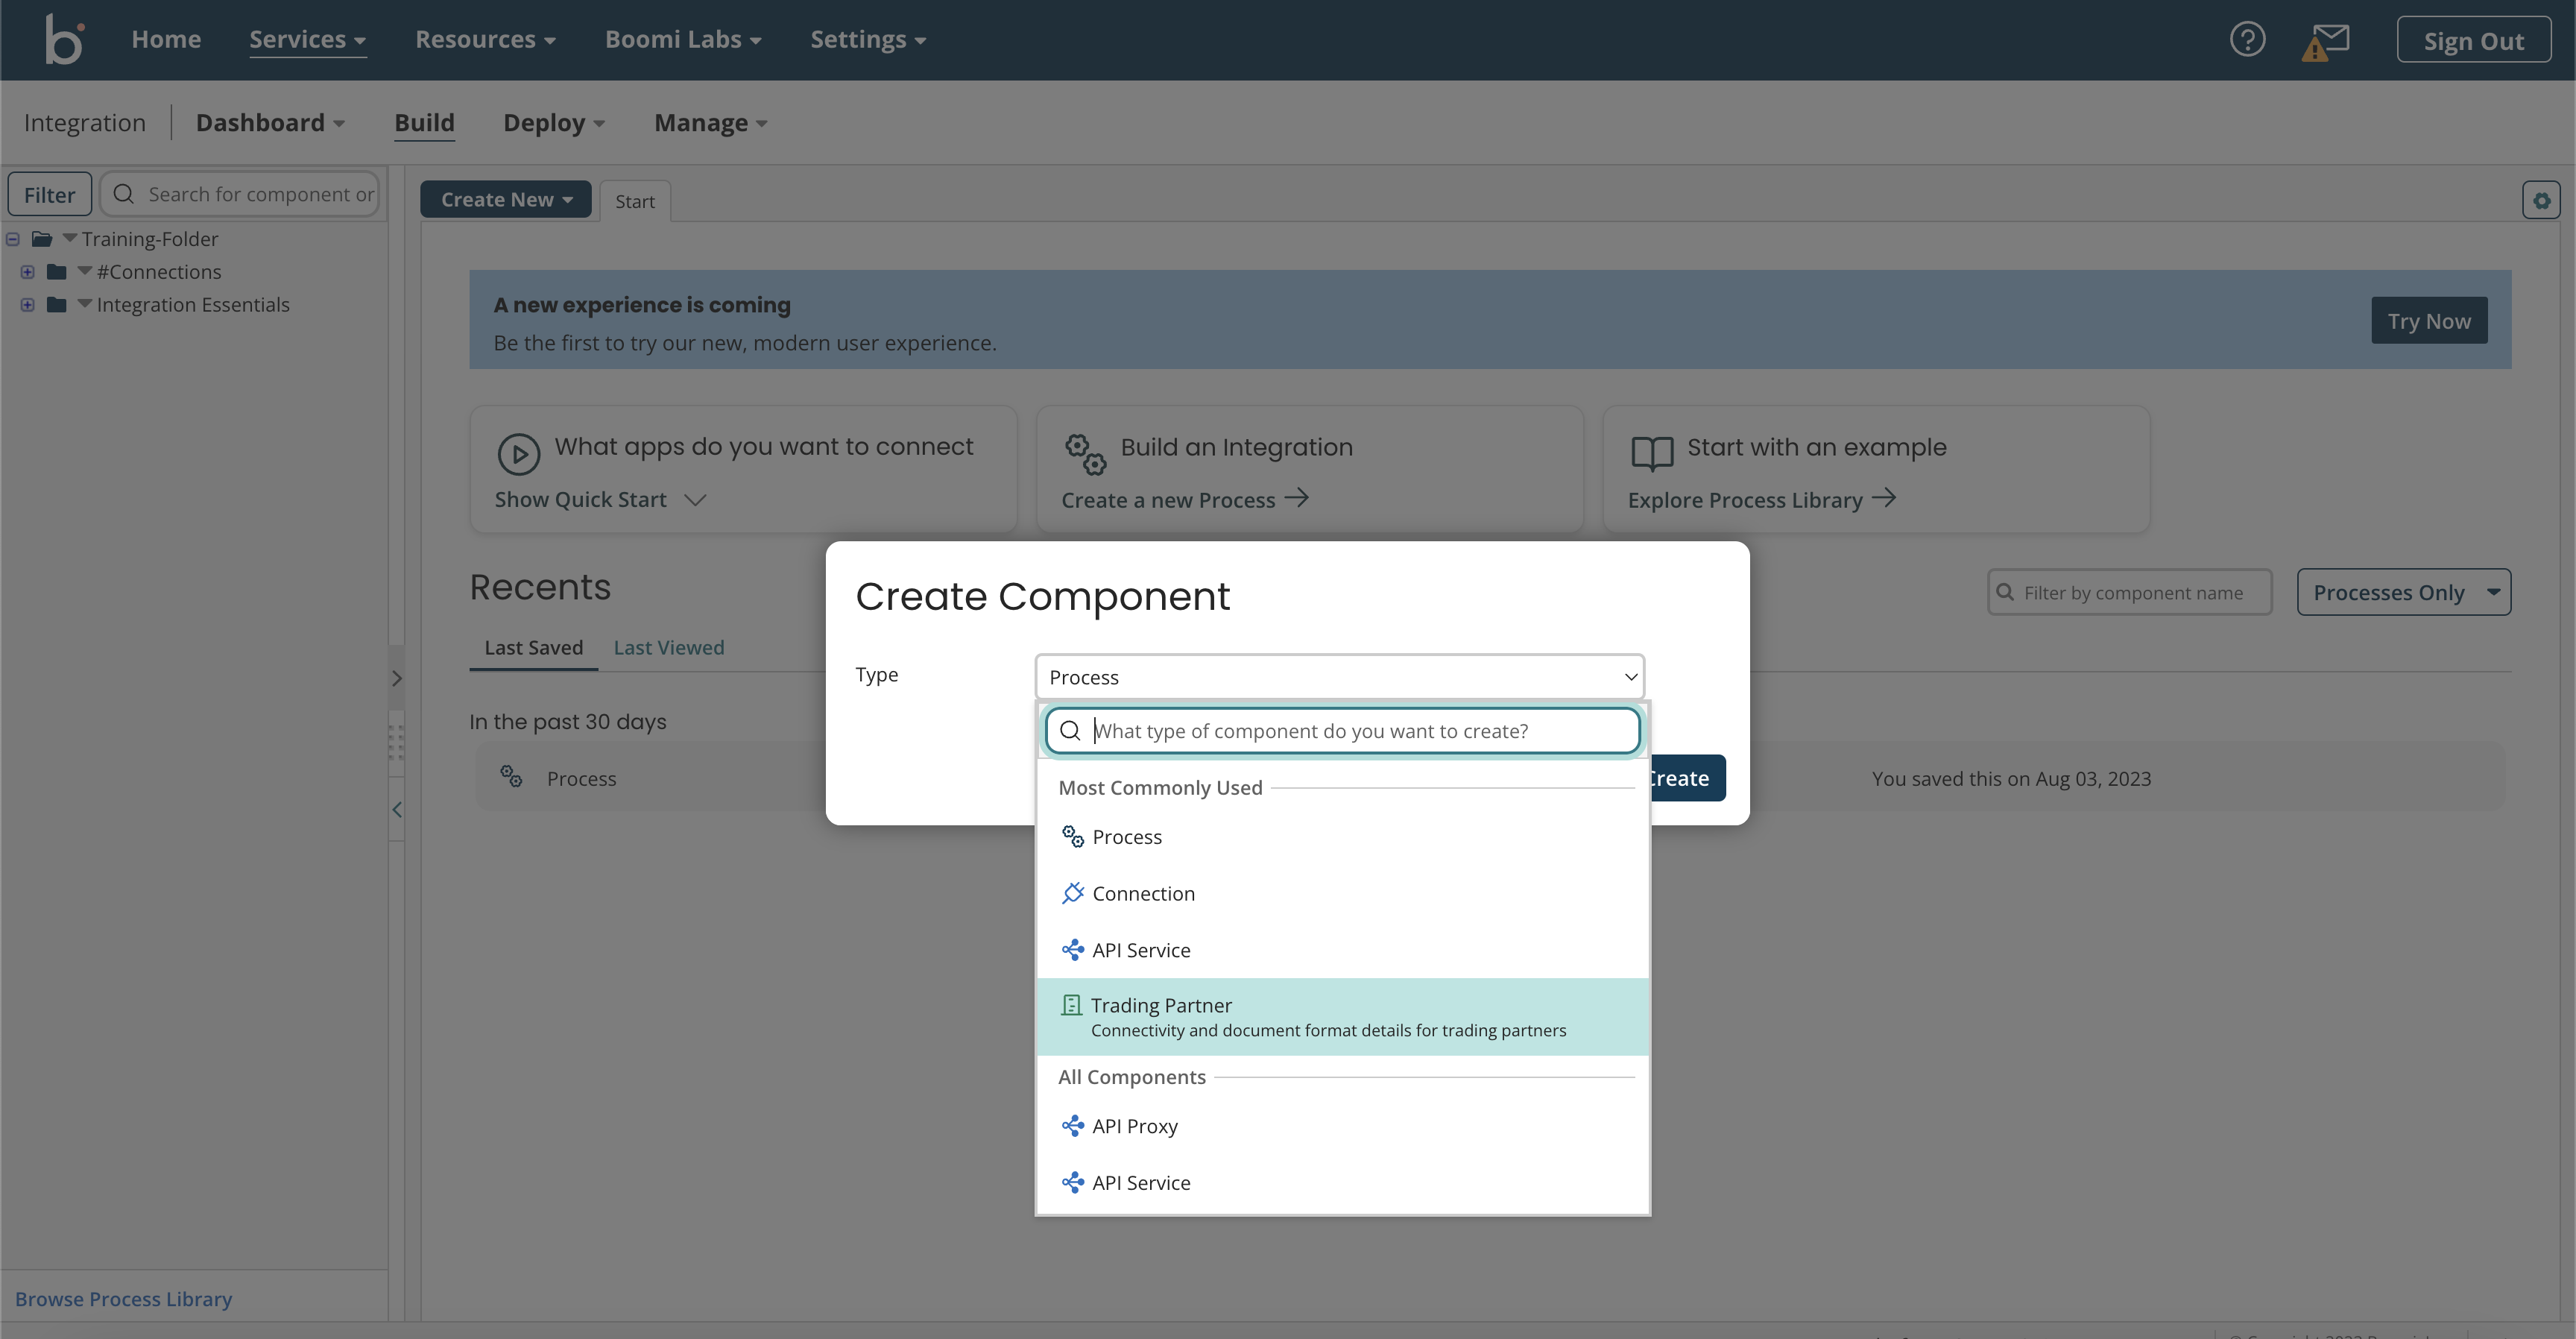
Image 15: Create Component popup
Best practices for maintaining a Boomi folder structure
Folders are modules that promote reusability of components and connections for faster integrations. When creating a Boomi folder structure, you must keep the following things in mind:
- Common folders (such as connections) should be kept at the top of the folder structure.
- Use different folders for different operations and APIs, since each one performs different actions. For instance, reading an Excel file operation may have a different folder to updating an Excel file.
- Nest folders with some caution. Too many levels of nesting can confuse users and call for more maintenance.
- Follow a uniform naming convention for all folders that relies on the endpoints that your processes will connect to.
– Ready to start integrating with the Boomi platform? You can contact us here.-
Conclusion
Managing an effective Boomi folder structure is a great way to speed up your integrations. By following some simple steps like placing common and repeatedly used folders on top of your structure, establishing a recognisable naming convention, and using the options provided by Boomi (such as Copy and Permissions) to simplify the task of organisation, you can easily retrieve the right components for your integration project.
At Chakray, we can help you with all of your Boomi-related concerns. Do you need expert support for your Boomi platform integration? Reach out to us personally and we’ll help you sort it out!


Talk to our experts!
Contact our team and discover the cutting-edge technologies that will empower your business.
contact us